Dashboard deployment guide
Use this guide to deploy the Cloud Dashboard on AWS, GCP, Azure, or any cloud provider.1
Get your Production License
When you purchase a Production License, you’ll receive an email with your license key.Use the base64 value from the email as
ENTERPRISE_LICENSE_B64 in step 4.2
Prepare your database
Create a managed Postgres instance in your environment. Use a recent supported Postgres version and enable TLS for production.Create one database for the Cloud Dashboard:
3
Pull the Docker image
Pull the enterprise image from GitHub Container Registry:
Docker
Using a custom image? Use the image name provided in your license email or onboarding instructions.
4
Add primary environment variables
Create an environment file, such as
.env or enterprise.env.Add the following variables and replace the placeholder values with your Postgres URL and license key..env
5
Set up public app config
Add these variables to the same environment file. They configure how users access the Cloud Dashboard.
.env
6
Set up Plane environment variables
Plane powers the Cloud Dashboard and stores its data in the
blnk-cloud database.Add these variables to the same environment file you created in the previous step..env
7
Run the enterprise image
Start the dashboard with the image you pulled earlier. Map the host port to Confirm that your deployment is live:
ENTERPRISE_PUBLIC_PORT, e.g. 8080 if you used the value from the public app config step.Docker
Check deployment status
Connecting your Core
Connect your Core instance to your dashboard with the Query Agent.1
Deploy Blnk Core
Make sure you have a running Core instance.Follow our Core deployment guide for setup, scaling, and production hardening.
2
Create an instance on the dashboard
-
Open
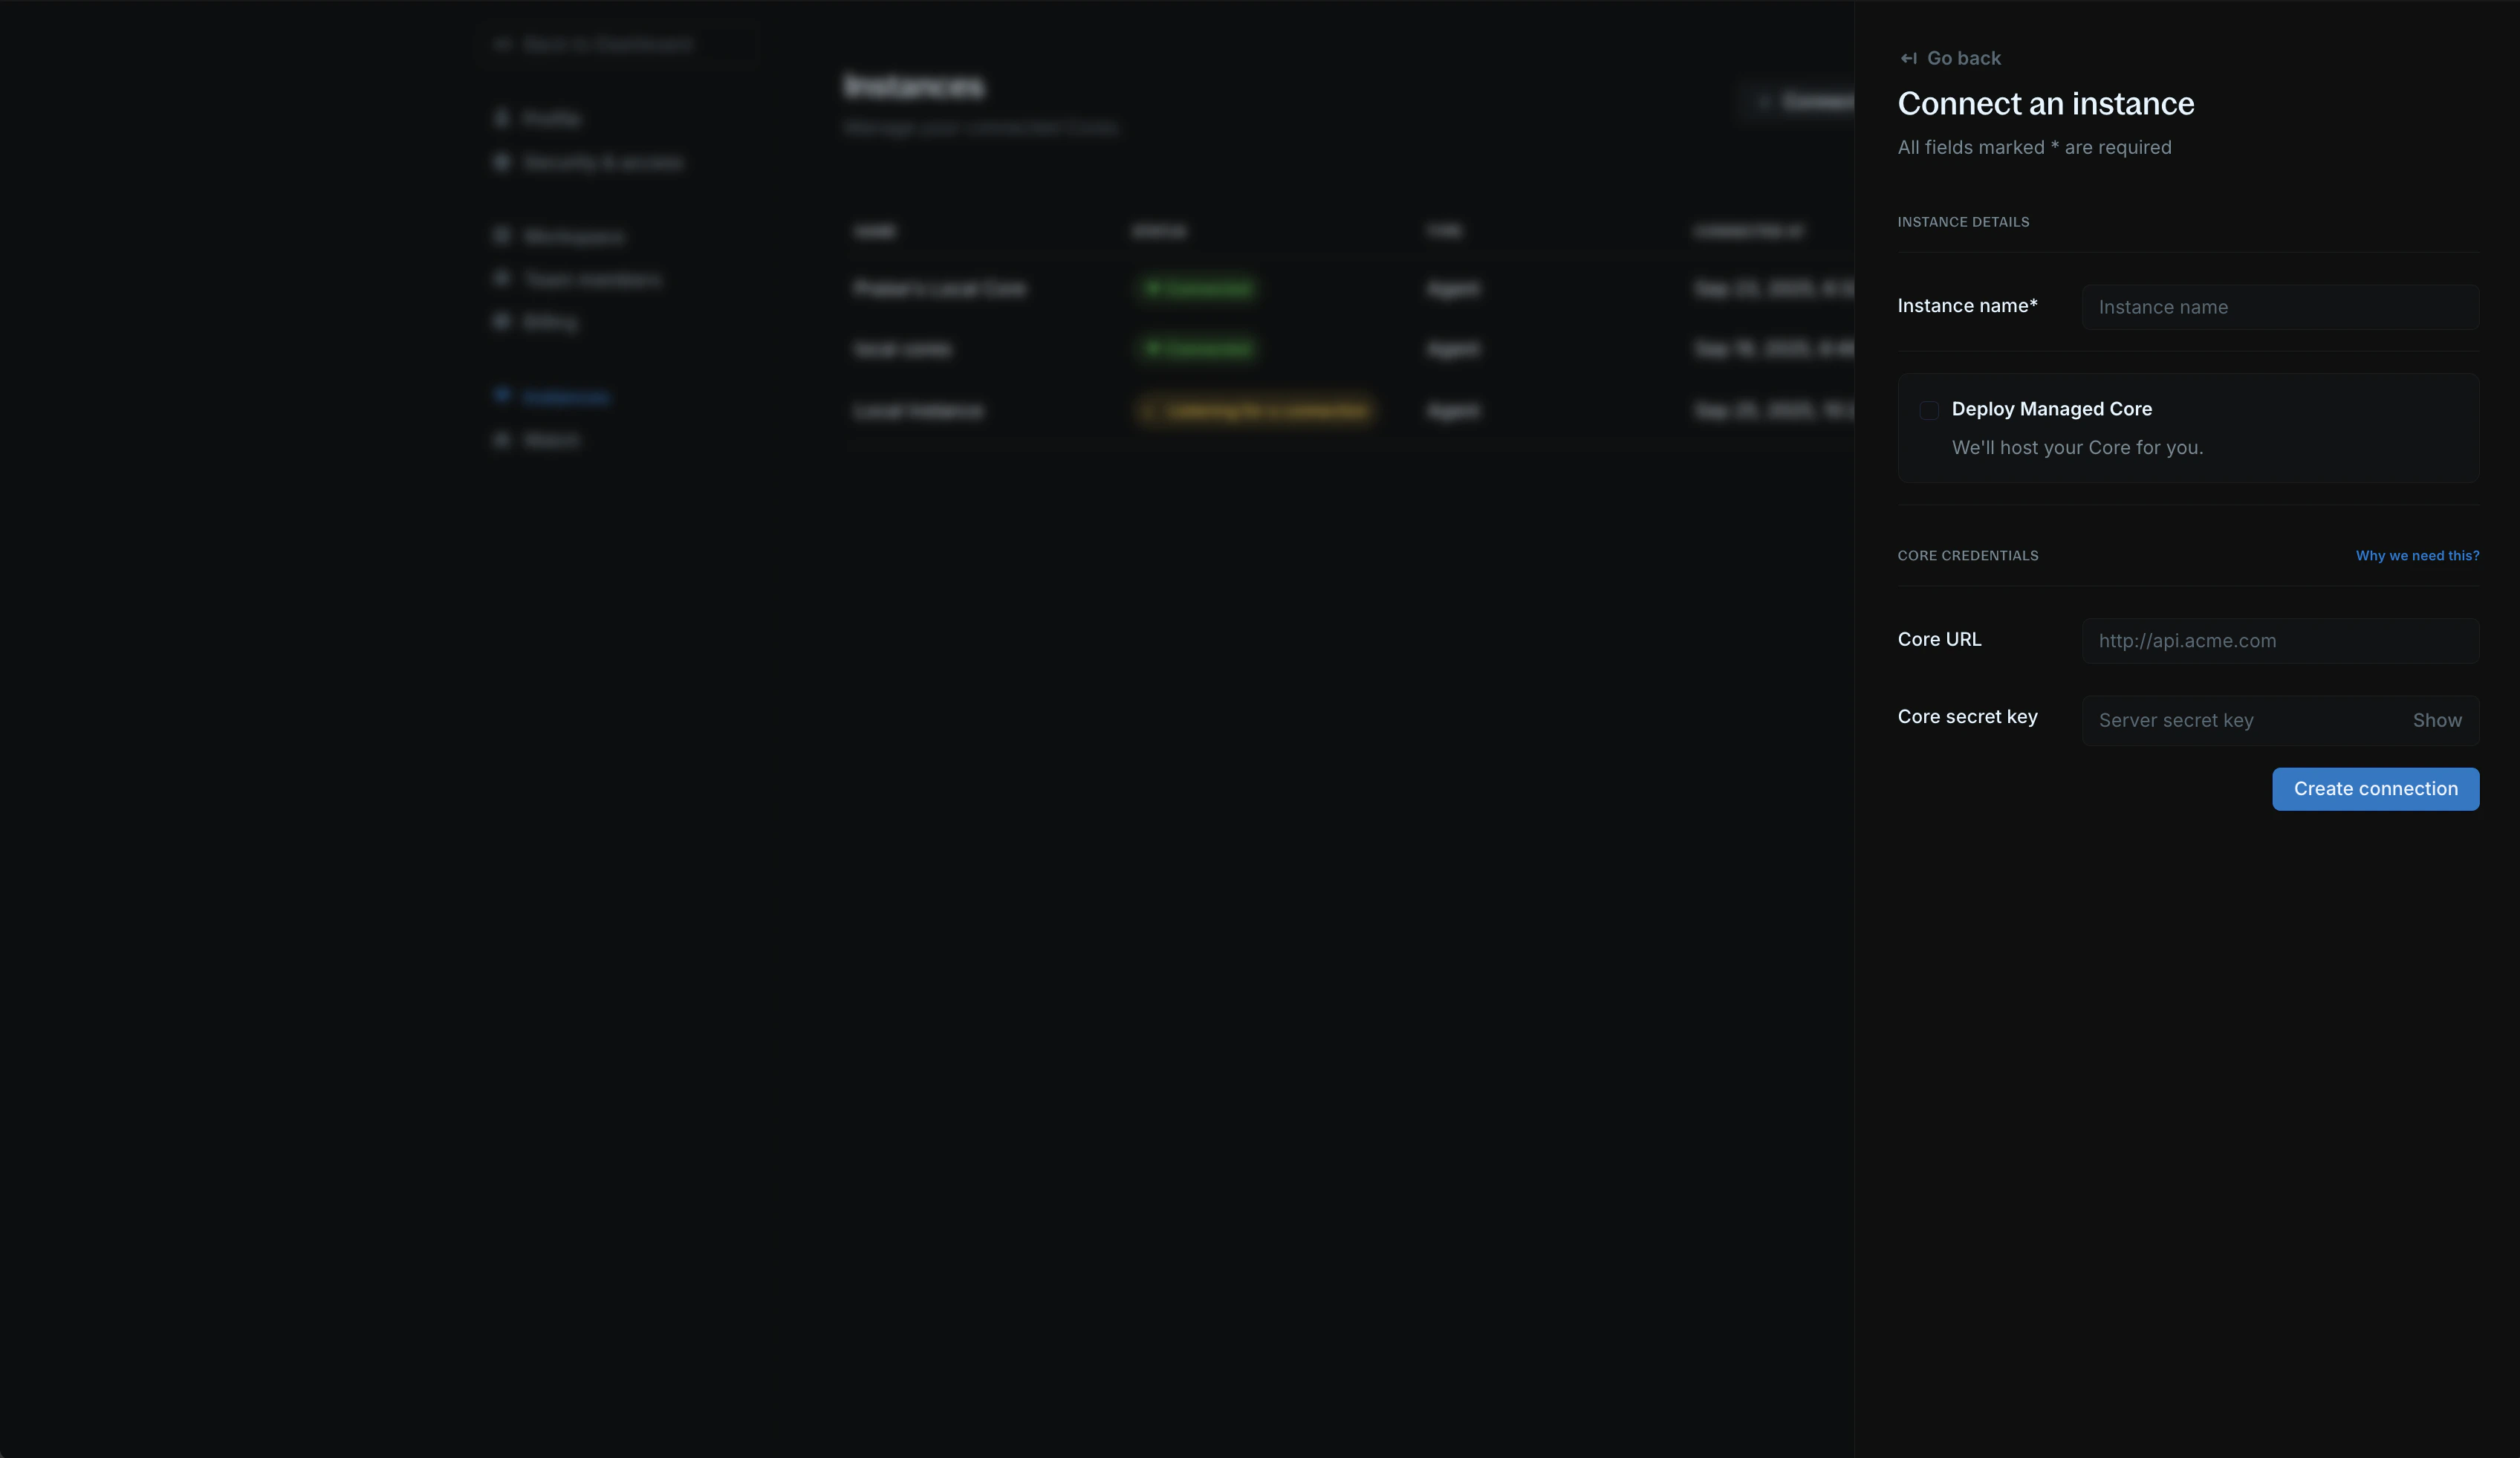
ENTERPRISE_PUBLIC_URLin your browser, sign up, and create your workspace. - Click Connect new instance from the homepage.
-
Enter your Core URL and secret key, then submit the form.
-
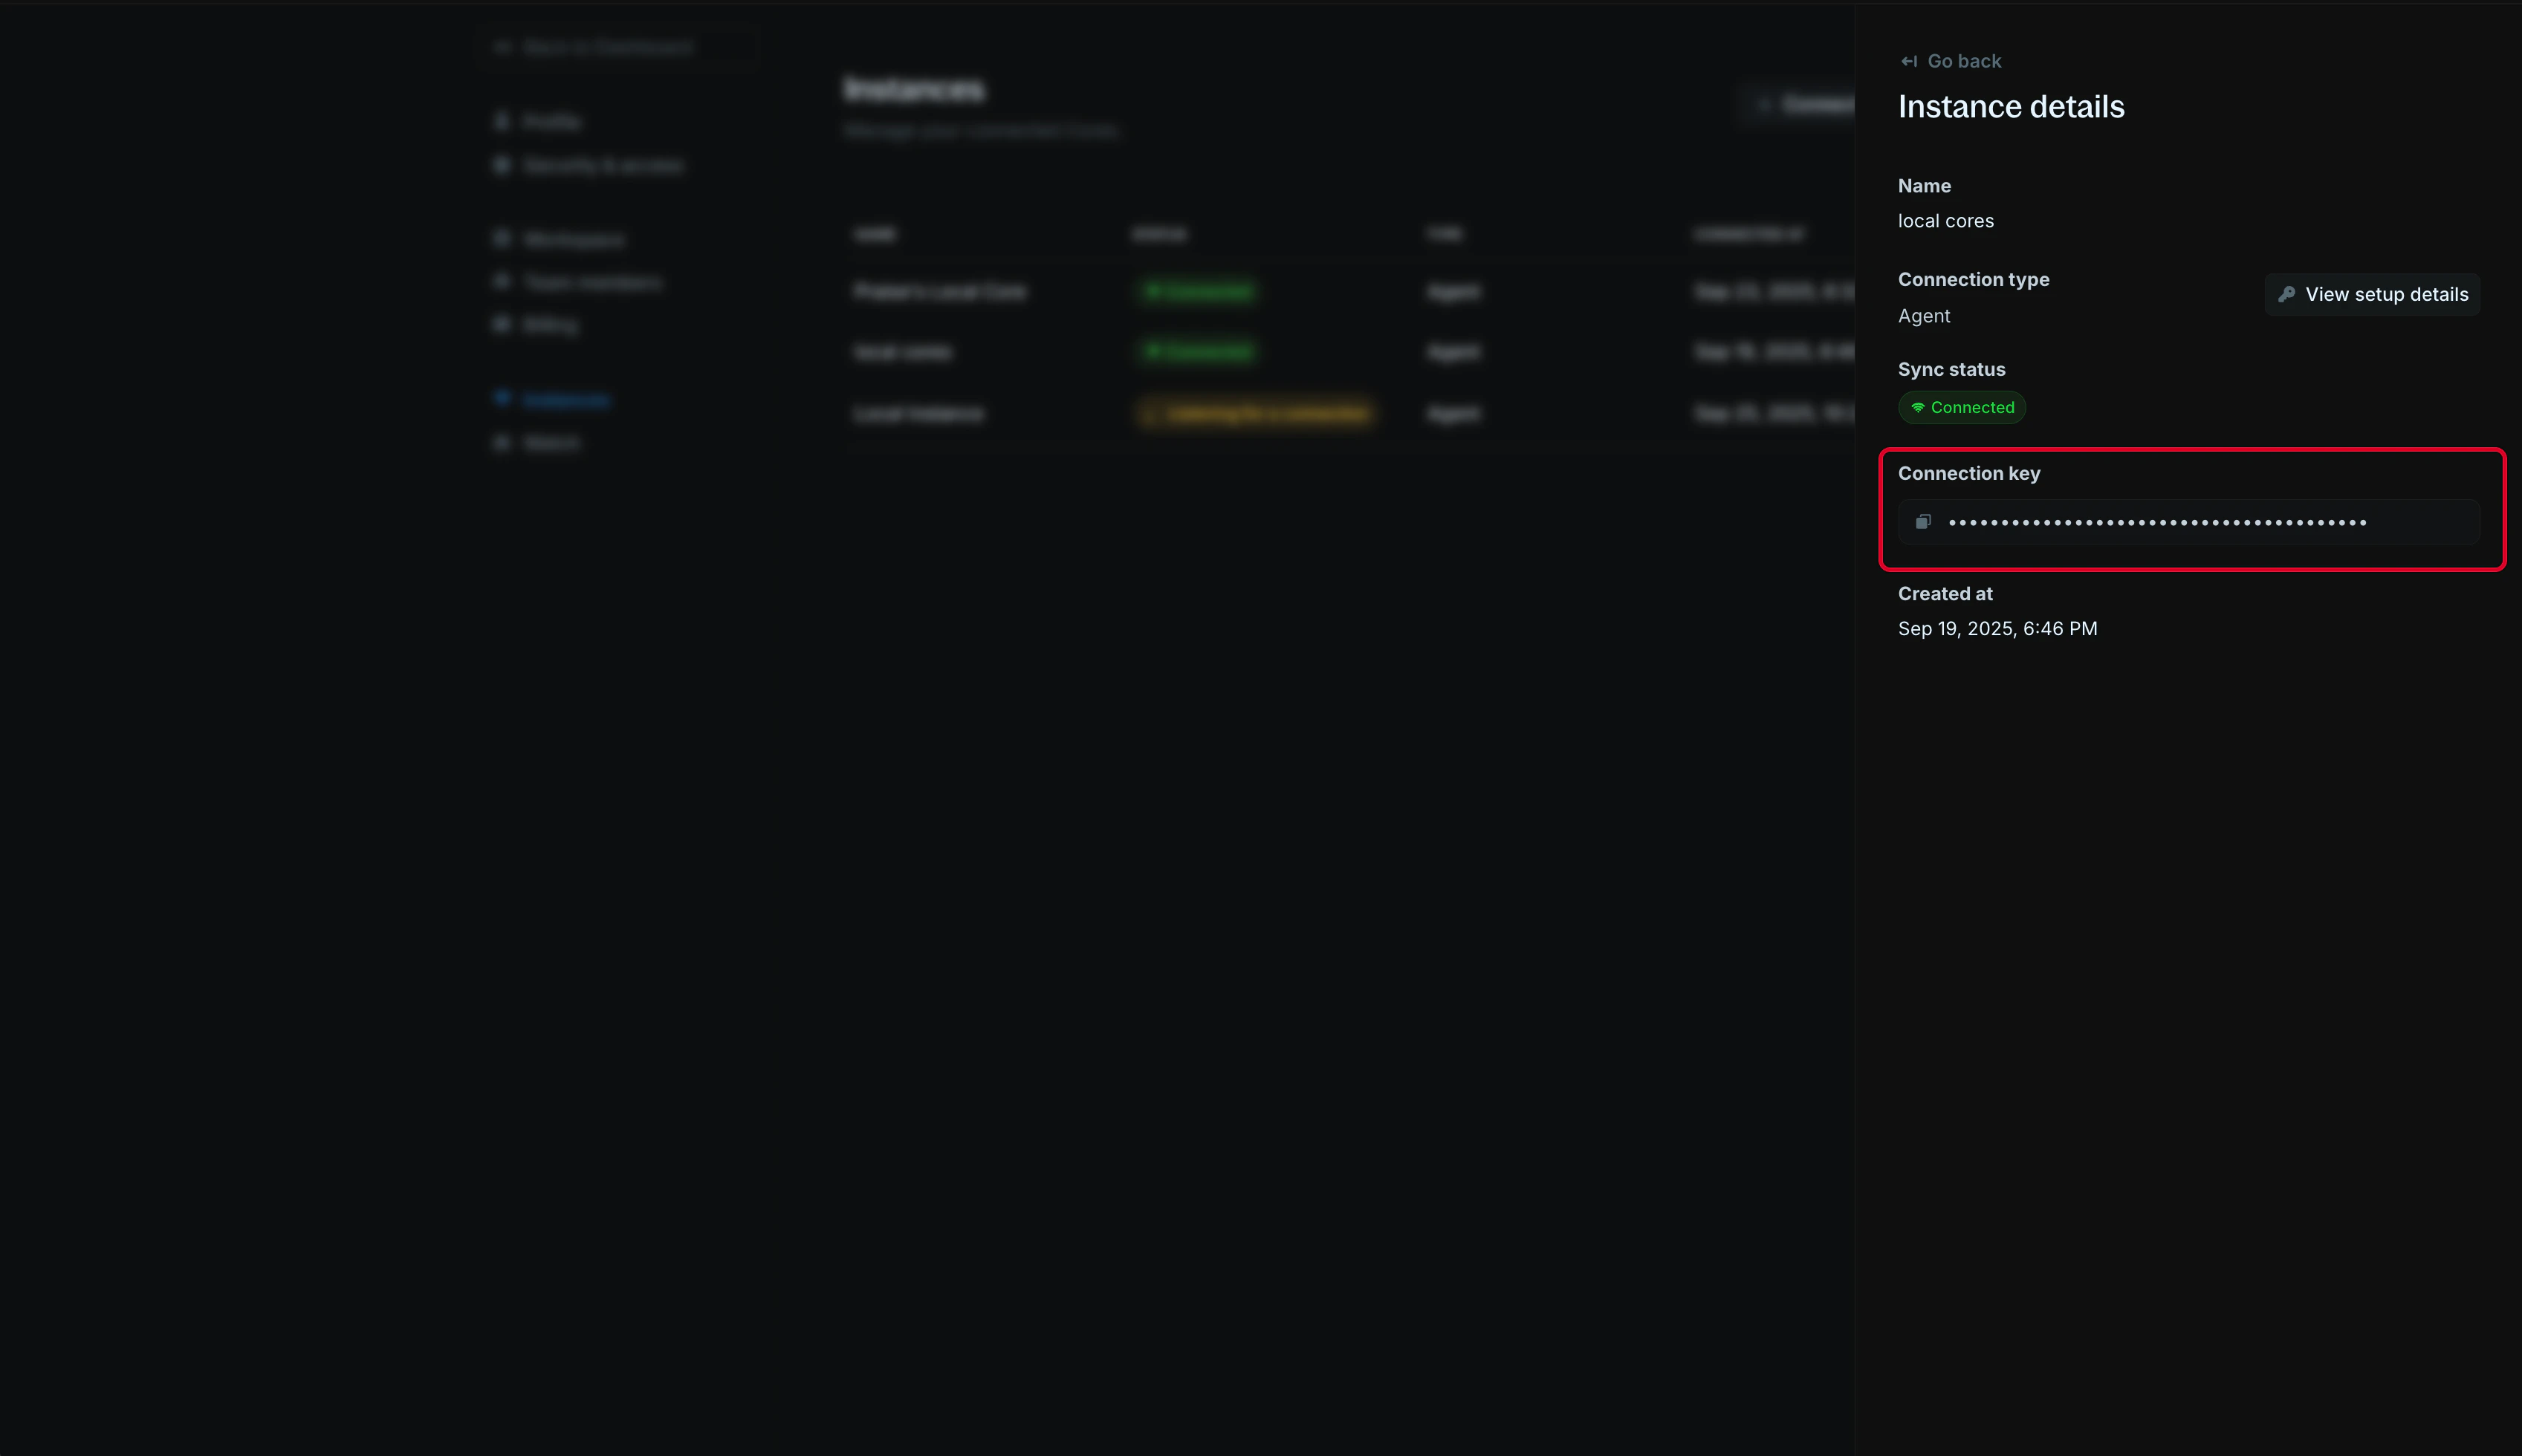
Copy the Connection key from the instance details page.
3
Run the Query Agent
Run the Query Agent where it can reach your Core database, and set the connection URL to the WebSocket version of
ENTERPRISE_PUBLIC_URL with path /ws/agent:Run Query Agent
4
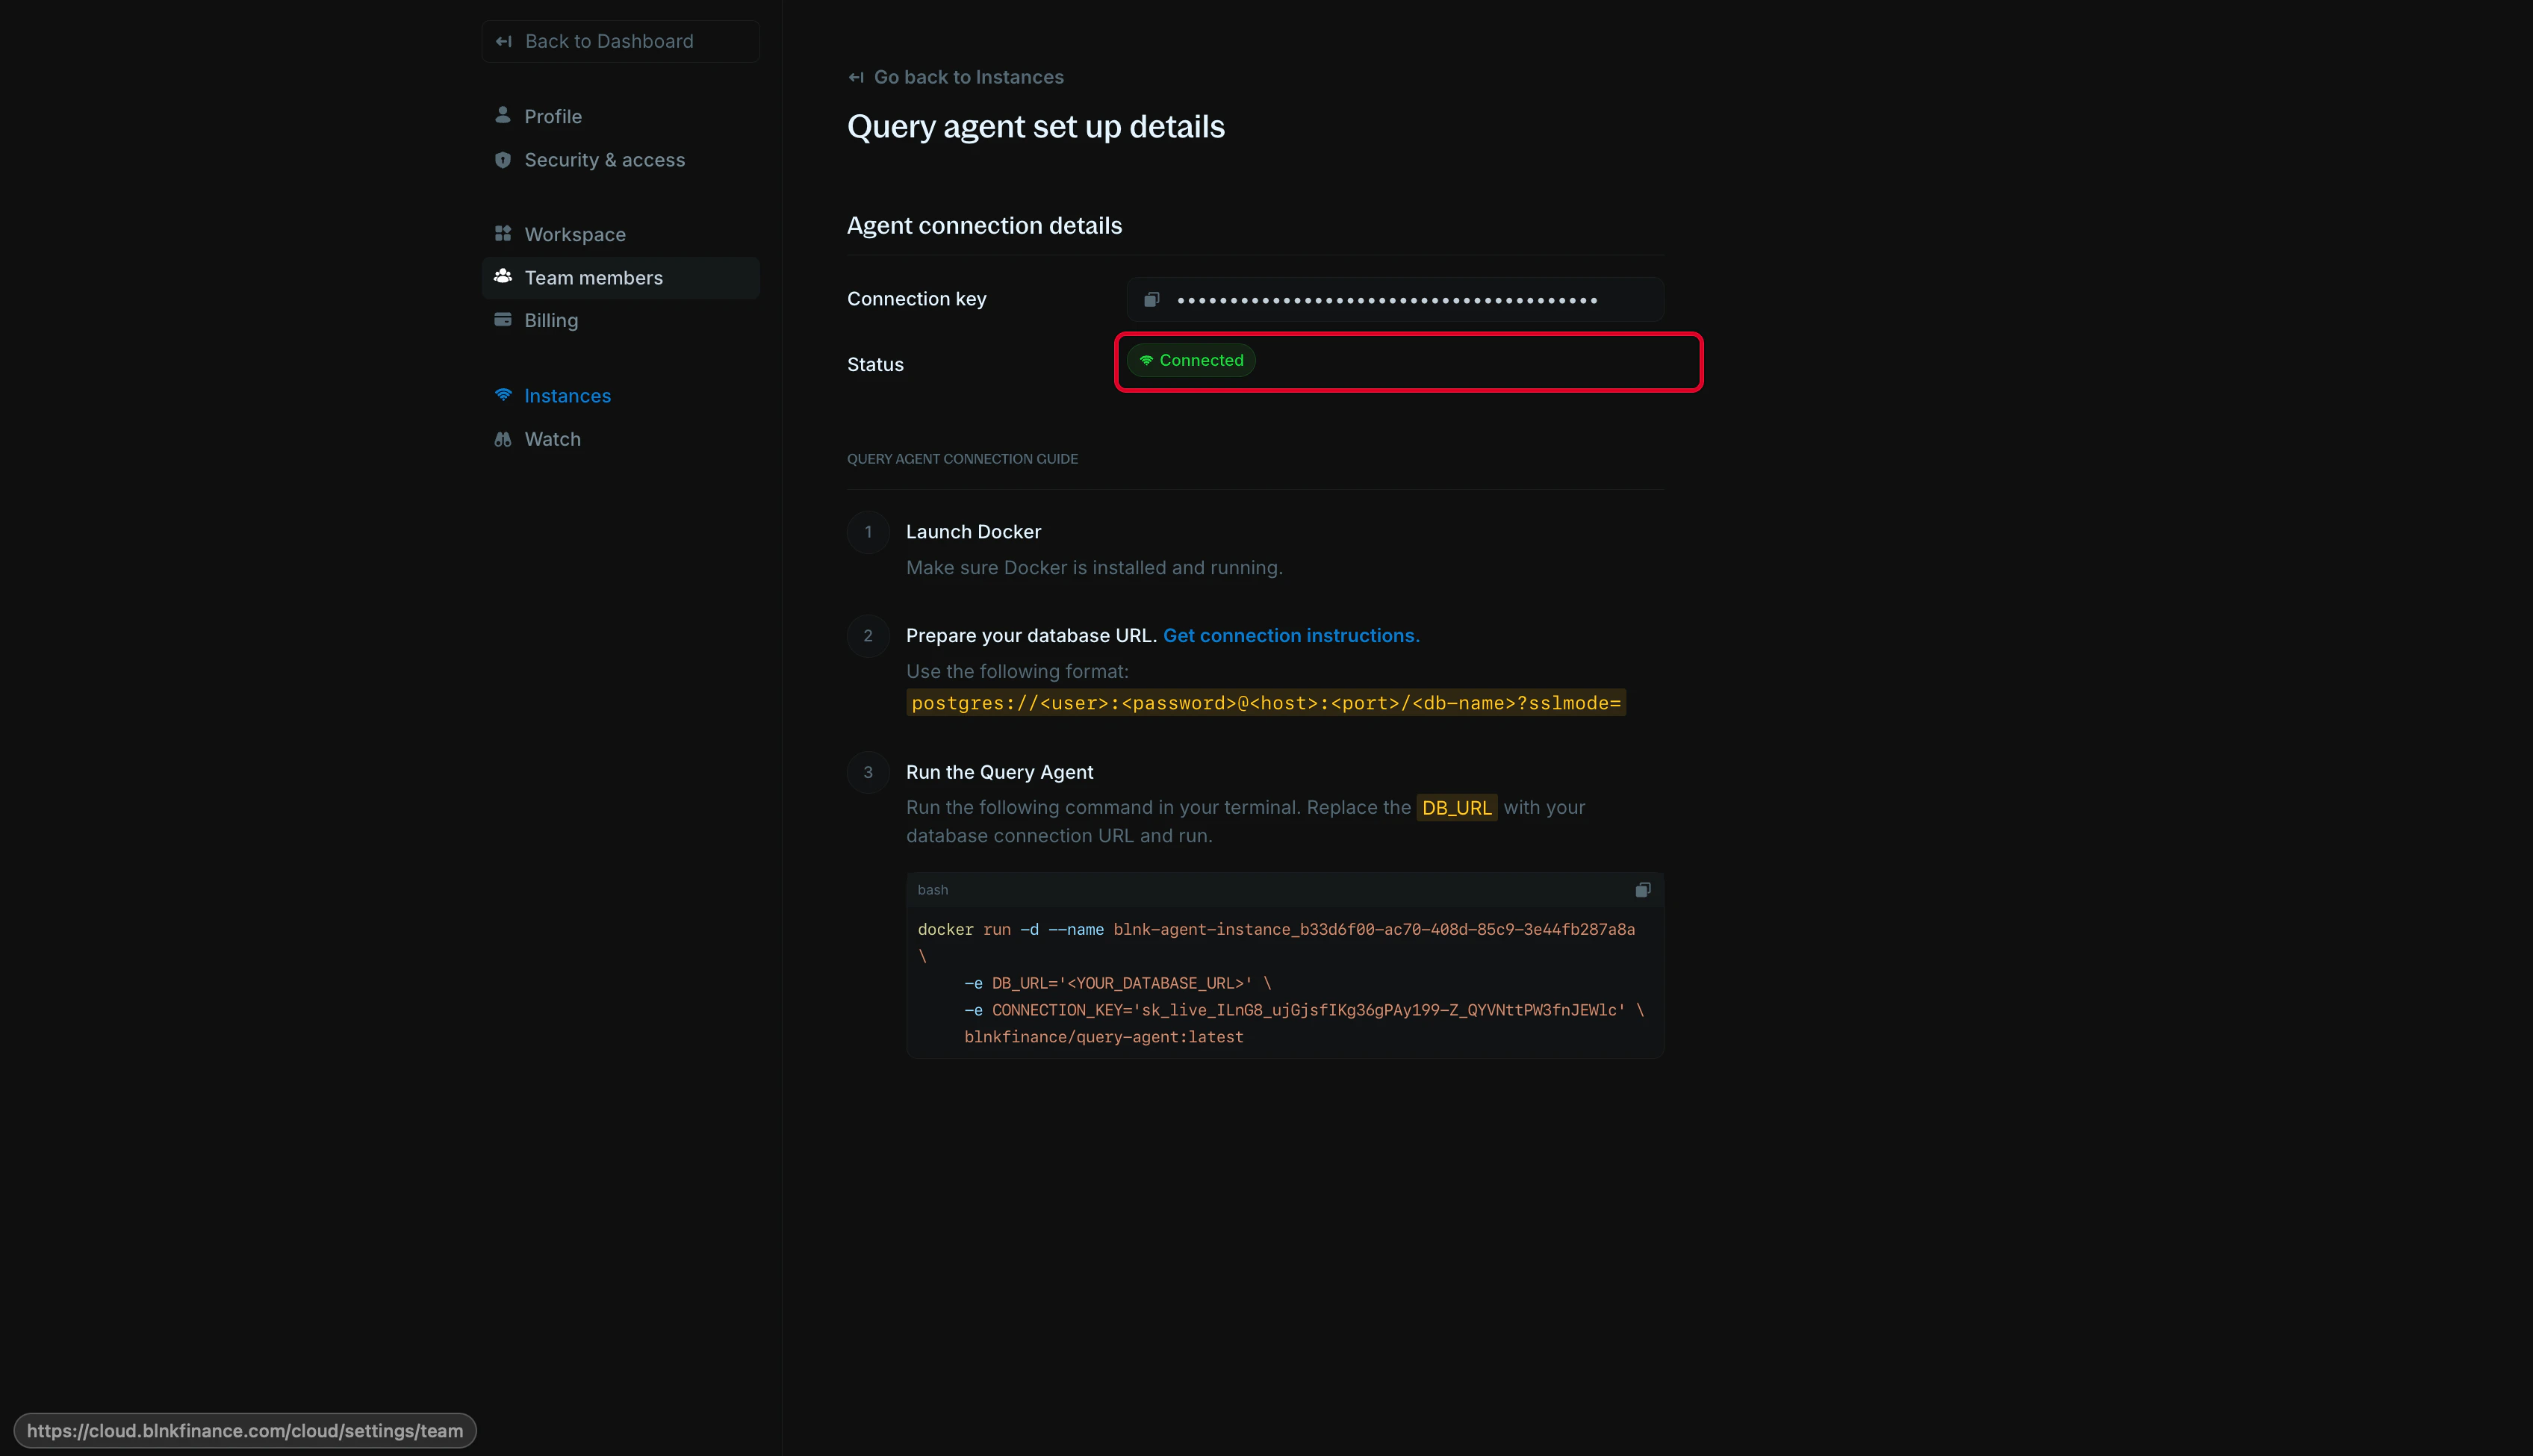
Verify connection
Go to Settings > Instances in the dashboard. Your instance should show as Connected with a green indicator.