

- Official apps: Built and managed by Blnk.
- Private apps: Built and managed by your organization.
If you are building your own Custom App, see Custom Apps overview. For a runnable Stripe Sync example you can clone and register in Cloud, use the blnkfinance/apps-demo repository on GitHub.
Prerequisites
If your instance is deployed on Cloud, you’re set to go. For connected self-hosted instances:- Make sure you set your
Core URLandCore secret keyin Edit your instance. - Make sure your Core URL is reachable. If your Core is set up in a private network, whitelist Cloud IPs so Cloud can reach your ledger.
Install a Custom App
To install a Custom App:1
Open Apps library
Navigate to the bottom left section of your side navigation and open the
Apps library.Note: Make sure you’re in the right instance where you want the app to be available. If you’re not sure, you can confirm by checking the active instance in the top right corner of your screen.
2
Choose an app
Browse the library for the app you want, and click to open its details.Review what it does, the permissions it requires, and any other details you need. Confirm that this is the app you need, then click
Install.3
Review permissions
Next, review what the app is allowed to access or do inside your ledger.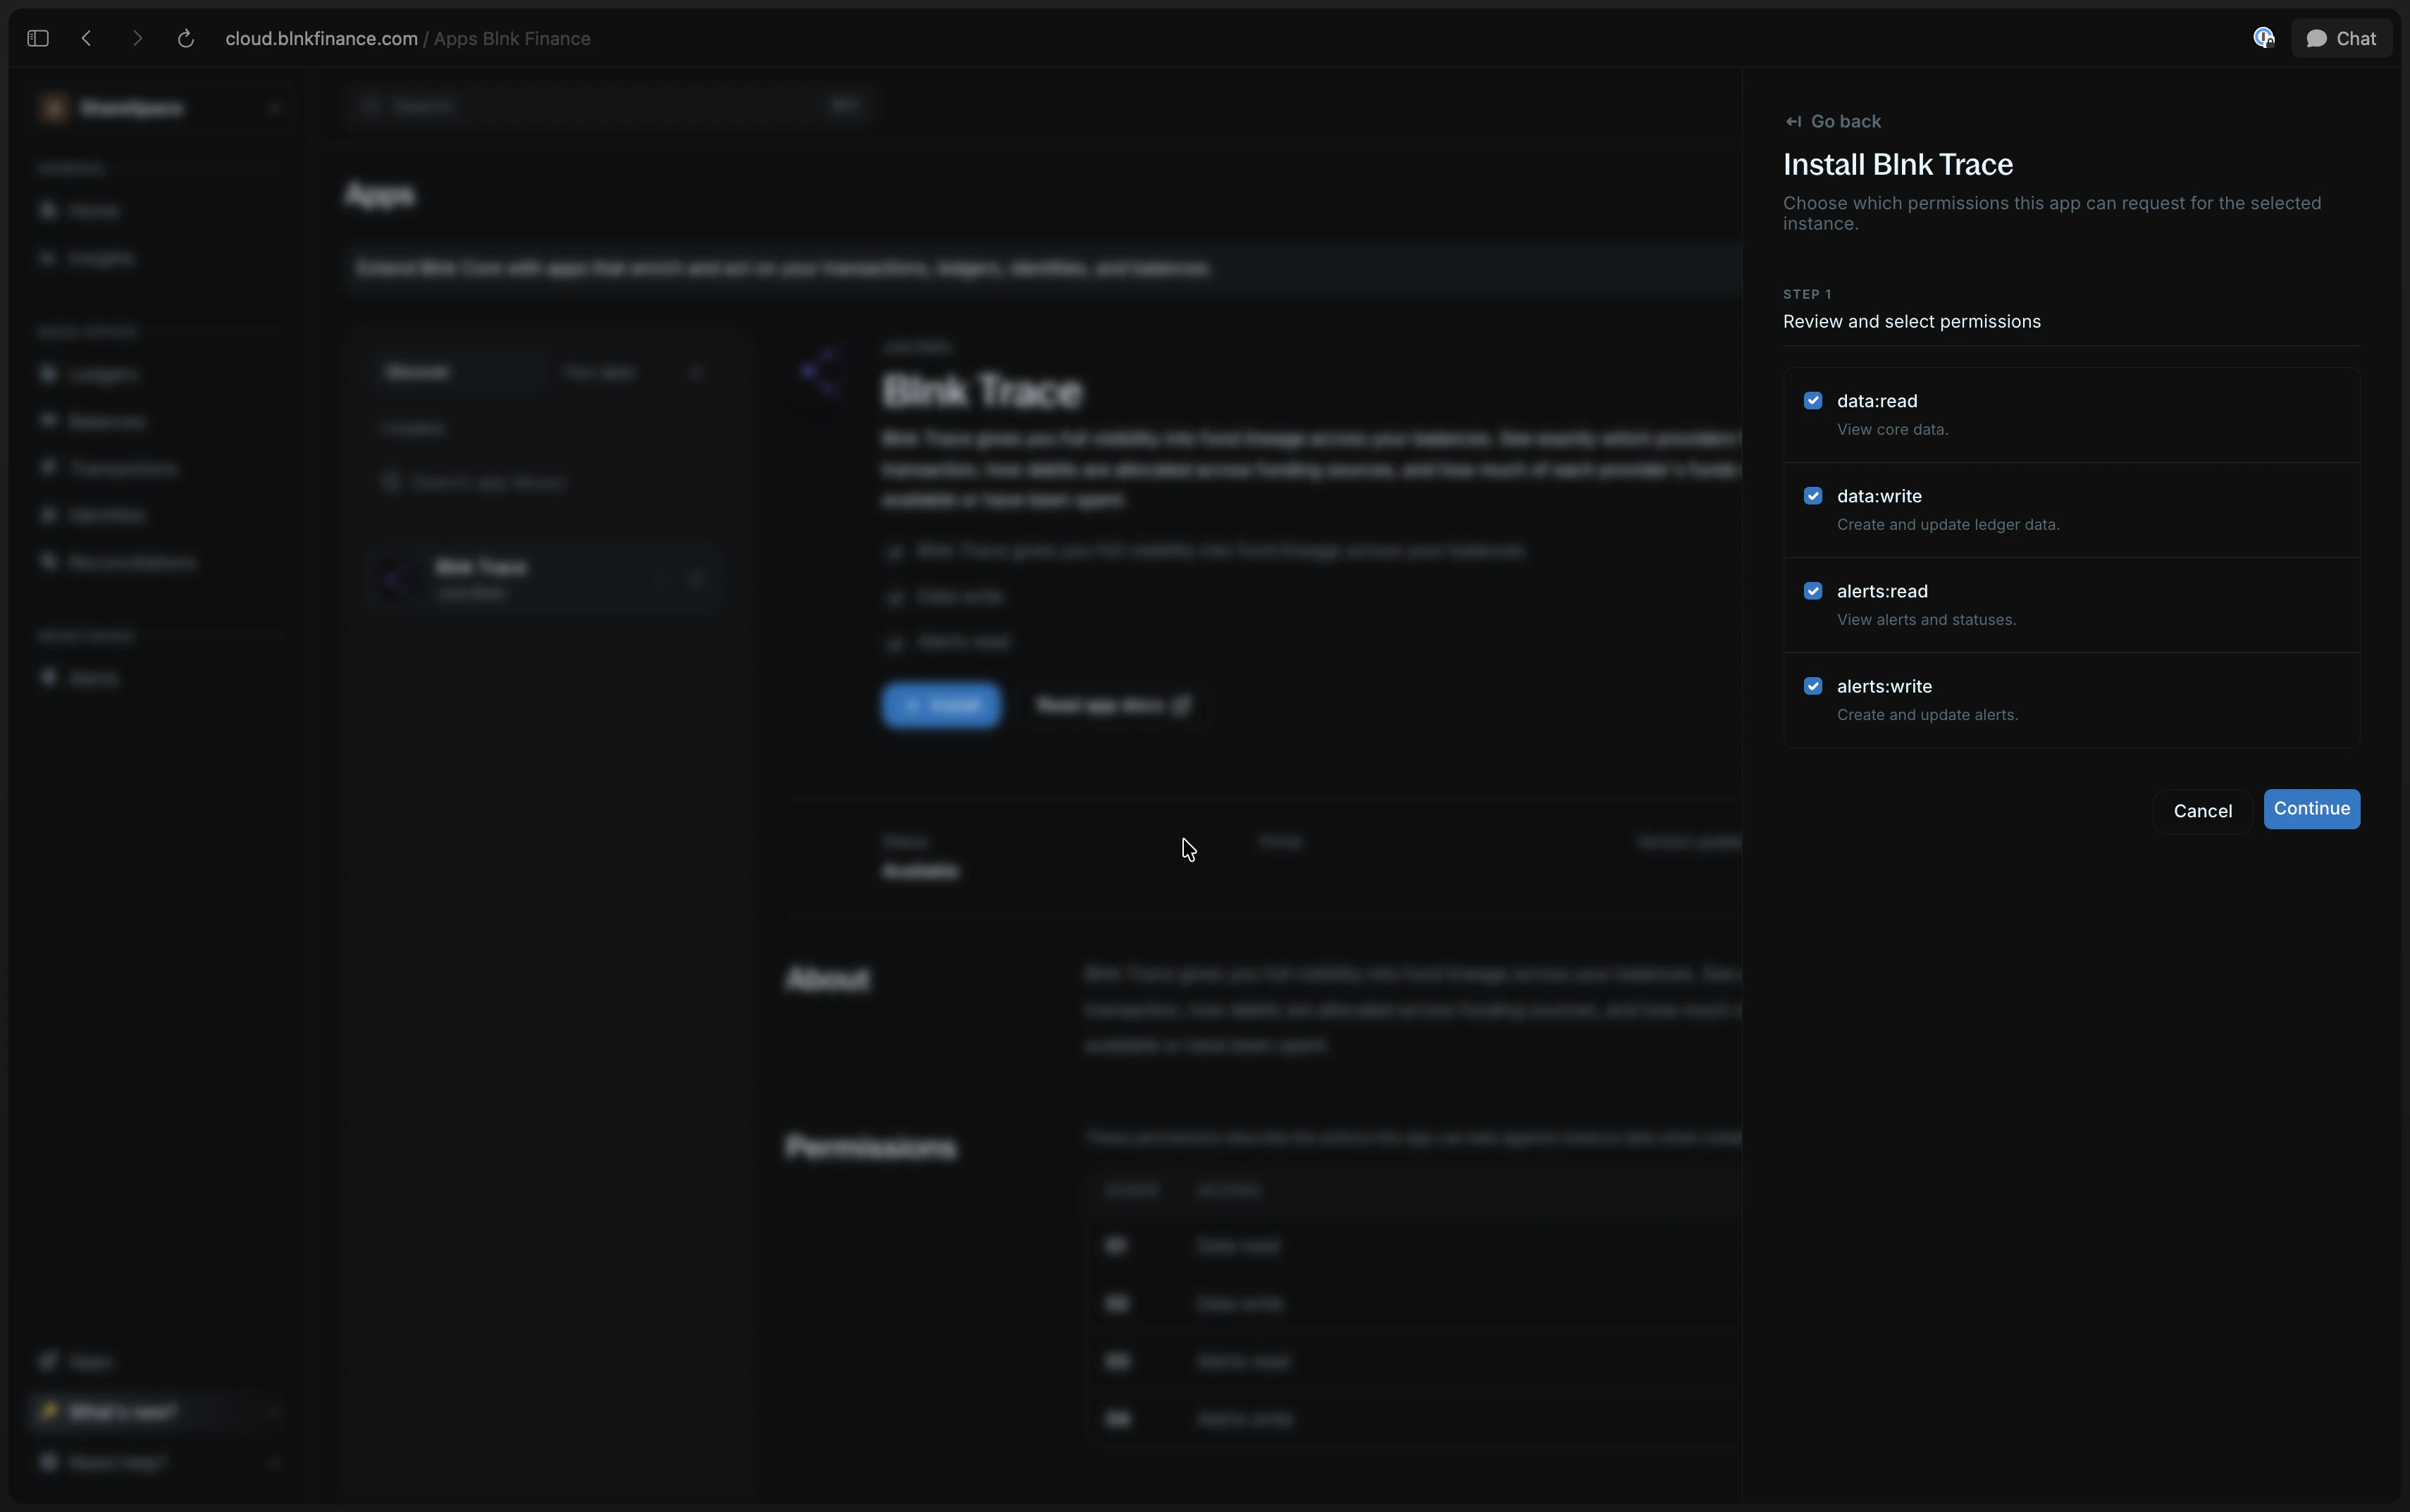
- Review the requested permissions.
- Select the permissions you want to grant.
- Click
Continueif you’re happy with the permissions.
4
Confirm installation
Finally, confirm the installation by entering your account password and 2FA code (if enabled).This final step helps protect the workspace from unauthorized app installs.
Now you can launch the app from the app details page by clicking
Launch app from the top right corner of the app details page. Launching is usually one click. Some apps prompt for your password and 2FA again before opening.Pin an app for your team
Pinning is for the whole organization, not only the person who clicks it. Everyone in the workspace sees the same pinned apps in the sidebar. Do this from the Apps library list (you do not need to open app details):1
Open Apps
Open Apps from the bottom of the sidebar.
2
Pin for the team
On the installed app card, click the pin icon. The tooltip is Pin to sidebar for your team.Cloud confirms with a toast. Pinned apps sort to the top of the library and show in the sidebar for your team.
Uninstall a Custom App
To uninstall a Custom App:1
Open the app details
From the
Apps library, open the app you want to uninstall.Make sure you are viewing the same organization and instance where the app is installed.2
Uninstall the app
Click
Uninstall from the app details page.If uninstall fails, wait a few minutes and try again.