

-
Internal balances: Balances grouped in the General Ledger and identified with the
@icon indicator in your workspace. - Application balances: Balances that you or your application create. Each has a unique balance ID and can be linked to identities on Cloud.
Create balances
To create a new balance:1
Open the create balance flow
Go to 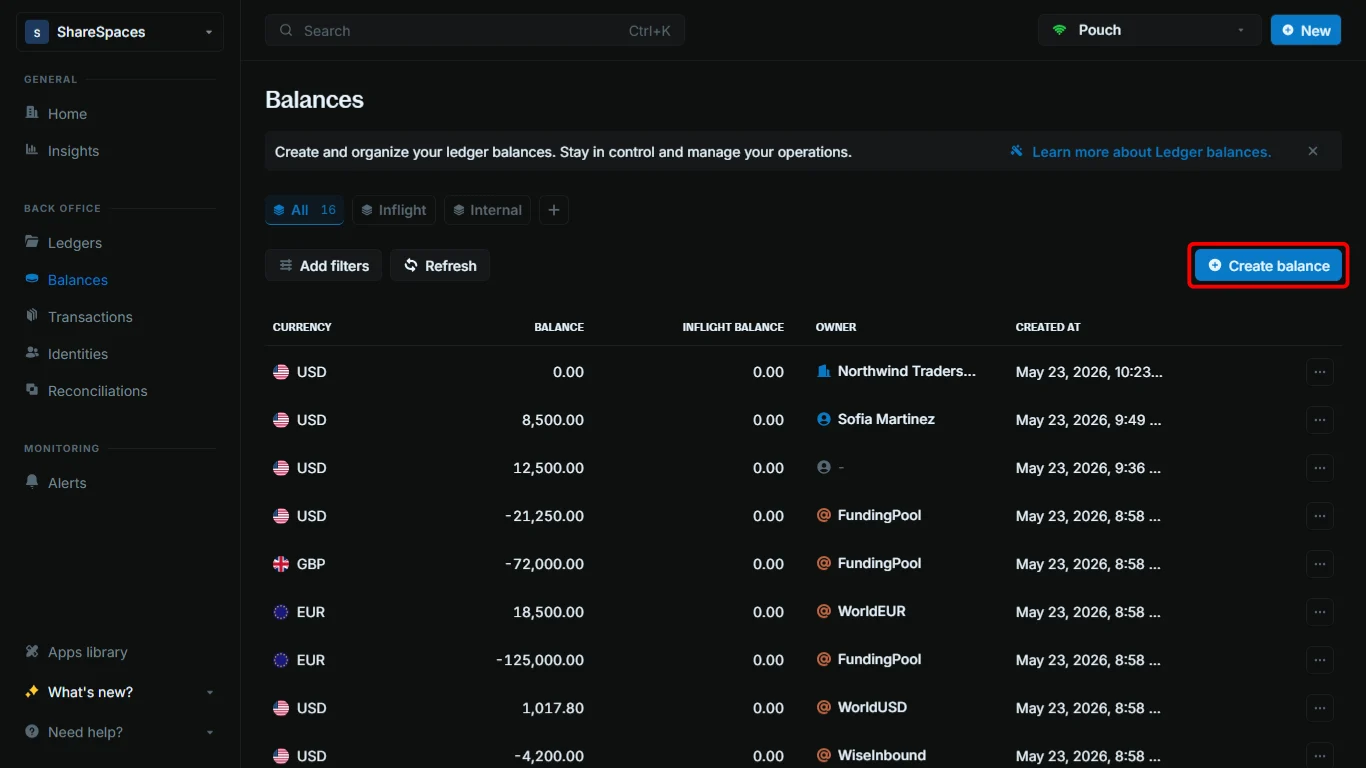
Balances. In the top-right corner of the table, click Create balance, or press ⌥ + B (Alt + B on Windows).2
Choose a ledger
Select the ledger where the balance should live. Type the ledger name and pick it from the dropdown, or paste the ledger ID.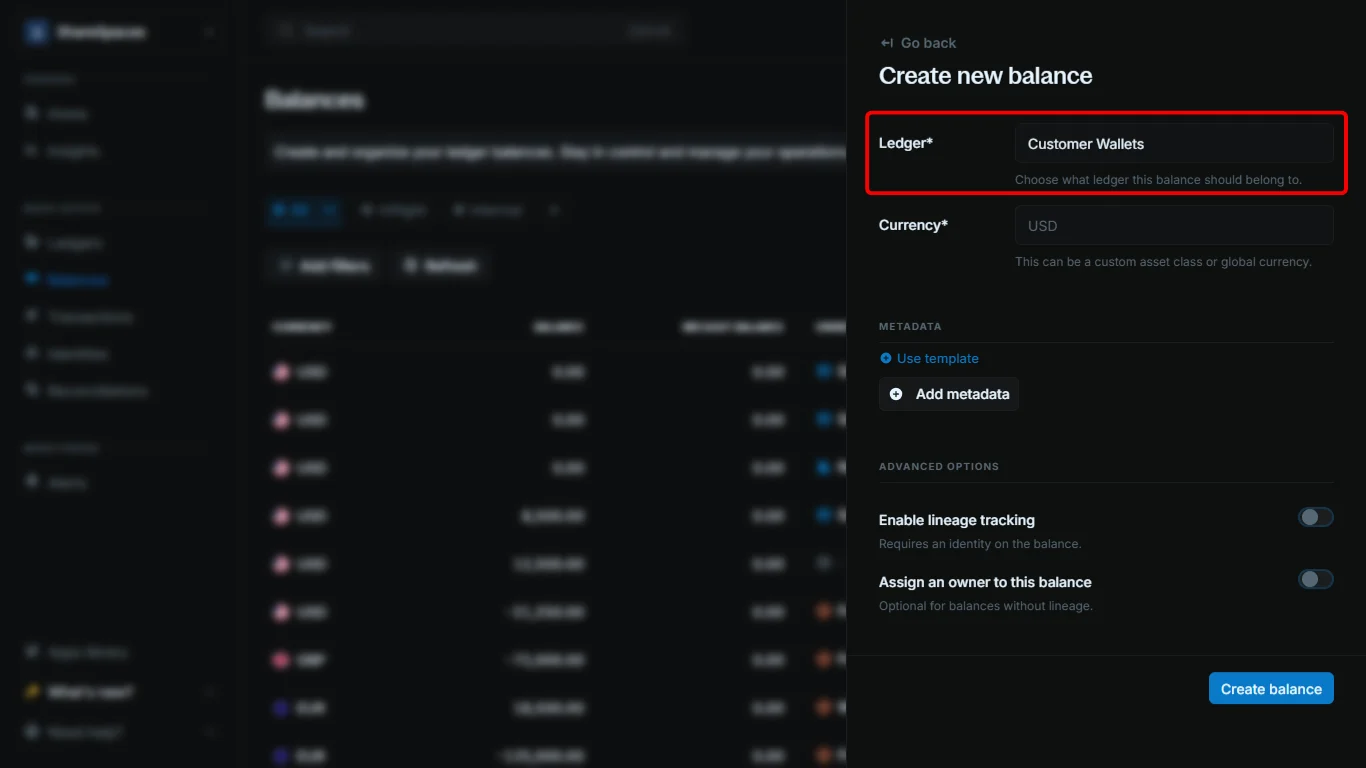
Customer Wallets, not the General Ledger.3
Enter the currency
Enter the currency for the balance: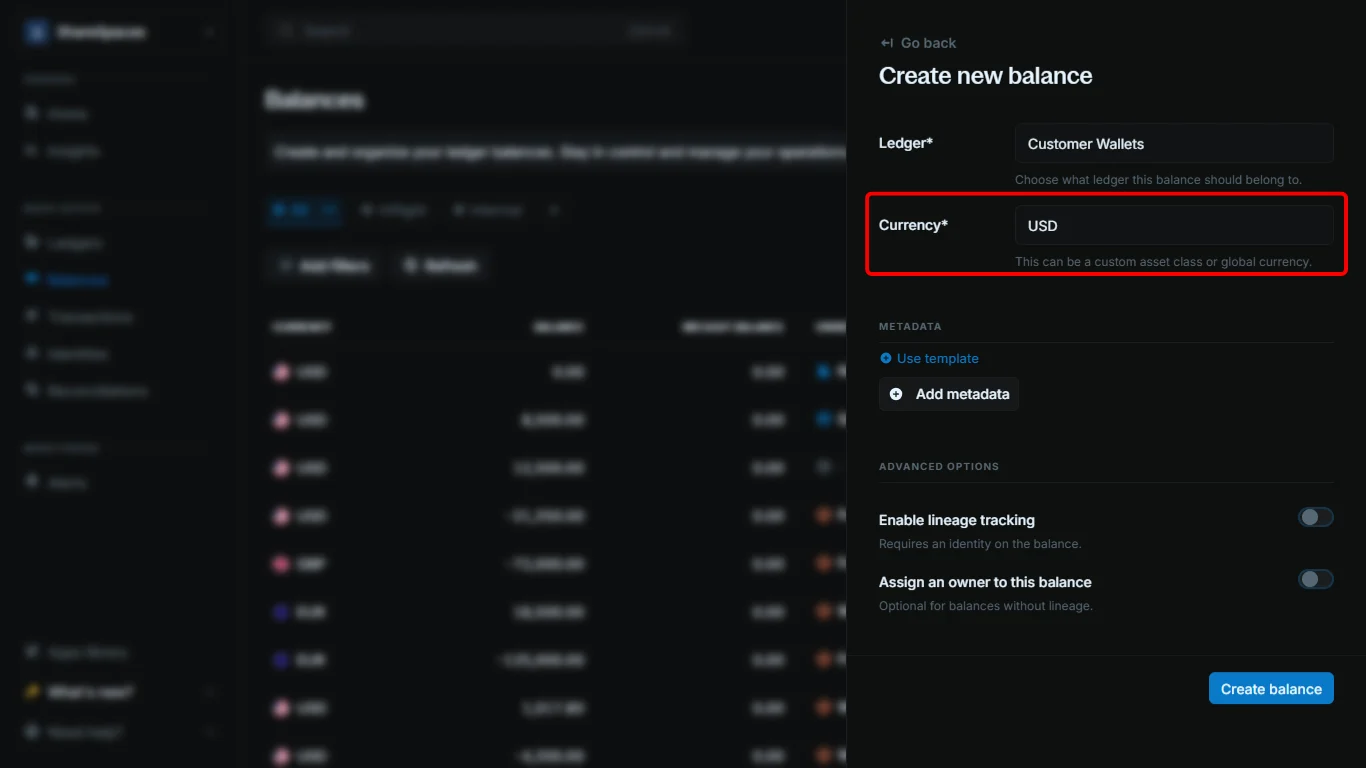
- Use the ISO 4217 code for fiat currencies.
- Use the ticker symbol for crypto.
- Use a unique identifier for custom assets.
4
Enable lineage tracking (optional)
Under 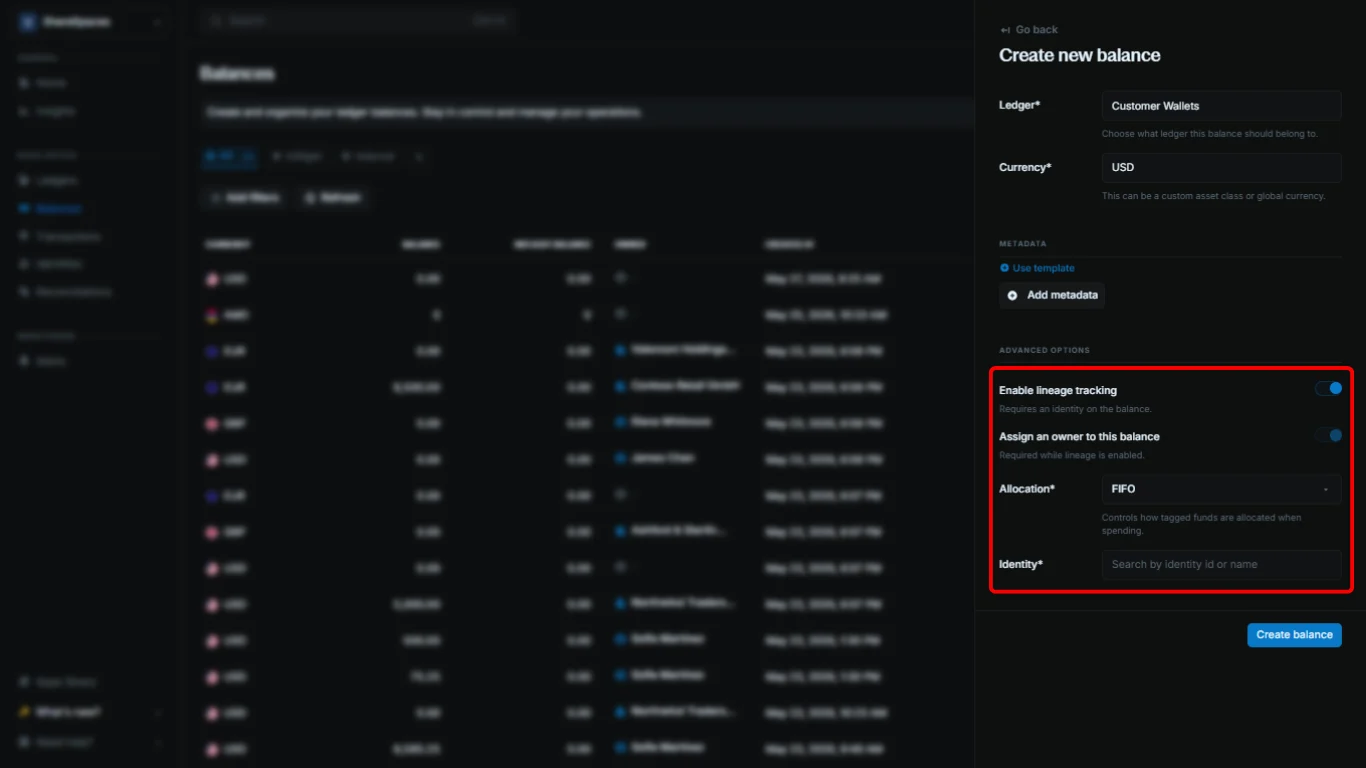
Advanced options, enable Enable lineage tracking to tag incoming funds and track how they are spent over time.- Select an
Allocationstrategy to control how tagged funds are used when the balance is debited:FIFO(first in, first out),LIFO(last in, first out), orPROPORTIONAL(spread debits across tagged funds). - Enabling lineage automatically turns on
Assign an owner to this balance. Choose an identity in the next step.
5
Assign an owner (optional)
To link the balance to an identity, enable 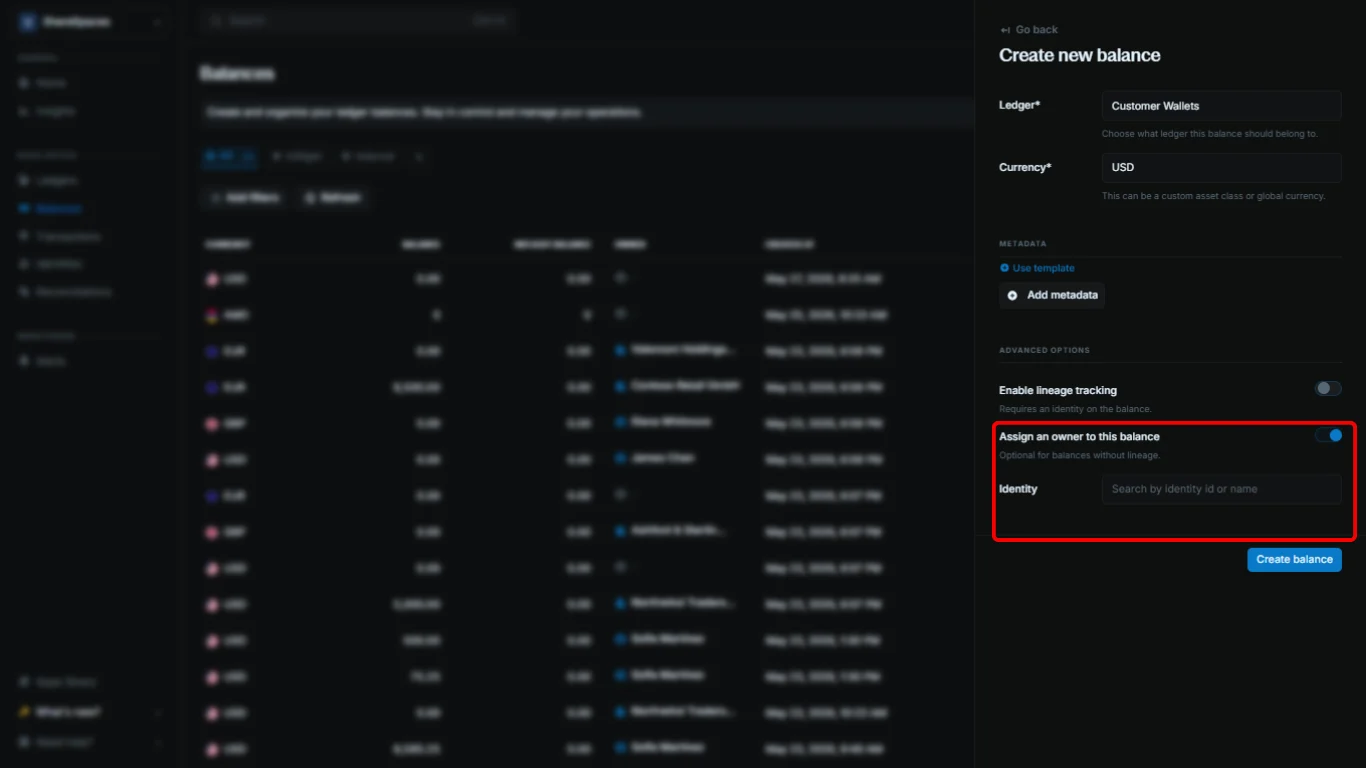
Assign an owner to this balance, then search by name and select from the list, or paste an identity ID. This is required while lineage tracking is enabled.6
Create the balance
Click 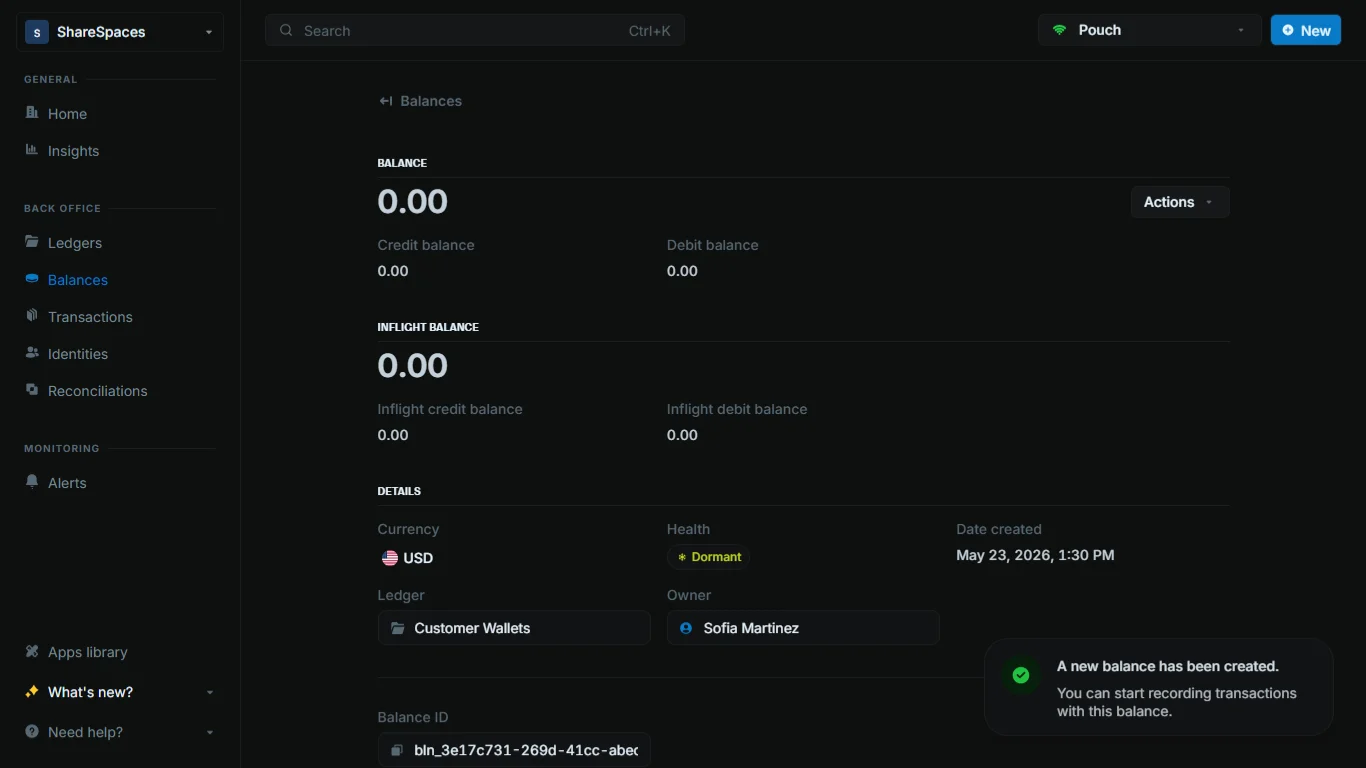
Create balance. The new balance appears in the Balances table and you can open it for details.Working with balances
All records in Blnk are immutable. This means that once a balance is created, it cannot be deleted or directly modified.Balances table
TheBalances table shows a list of all balances in your workspace. For each balance, you can see:
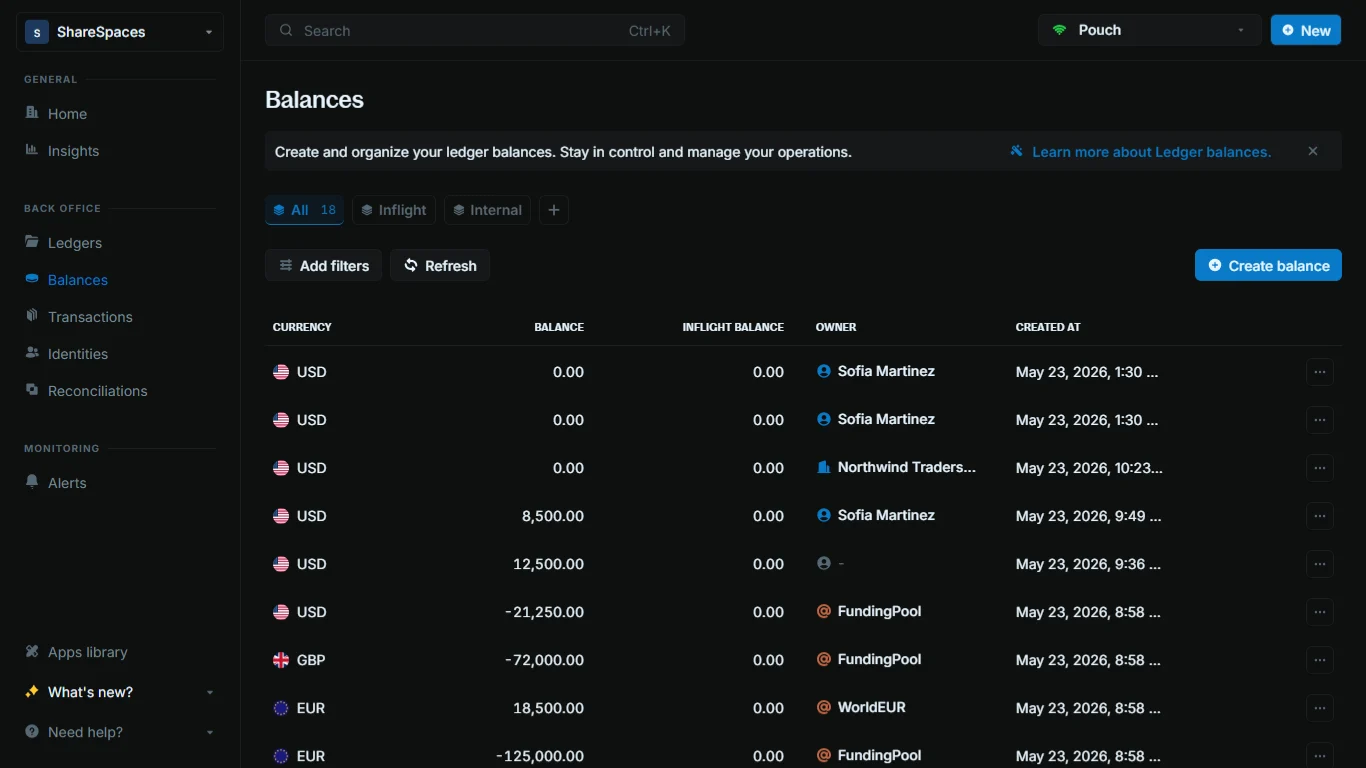
Currency: The type of asset being stored.Balance: The actual balance amount.Inflight balance: The net amount waiting to be added or deducted from the balance.Owner: The identity the balance is linked to, or its indicator if it is an internal balance. Application balances with no linked identity are empty.Created at: The date and time the balance was created.
View balance details
Click a balance to see its summary details, including the balance amount, currency, health, etc.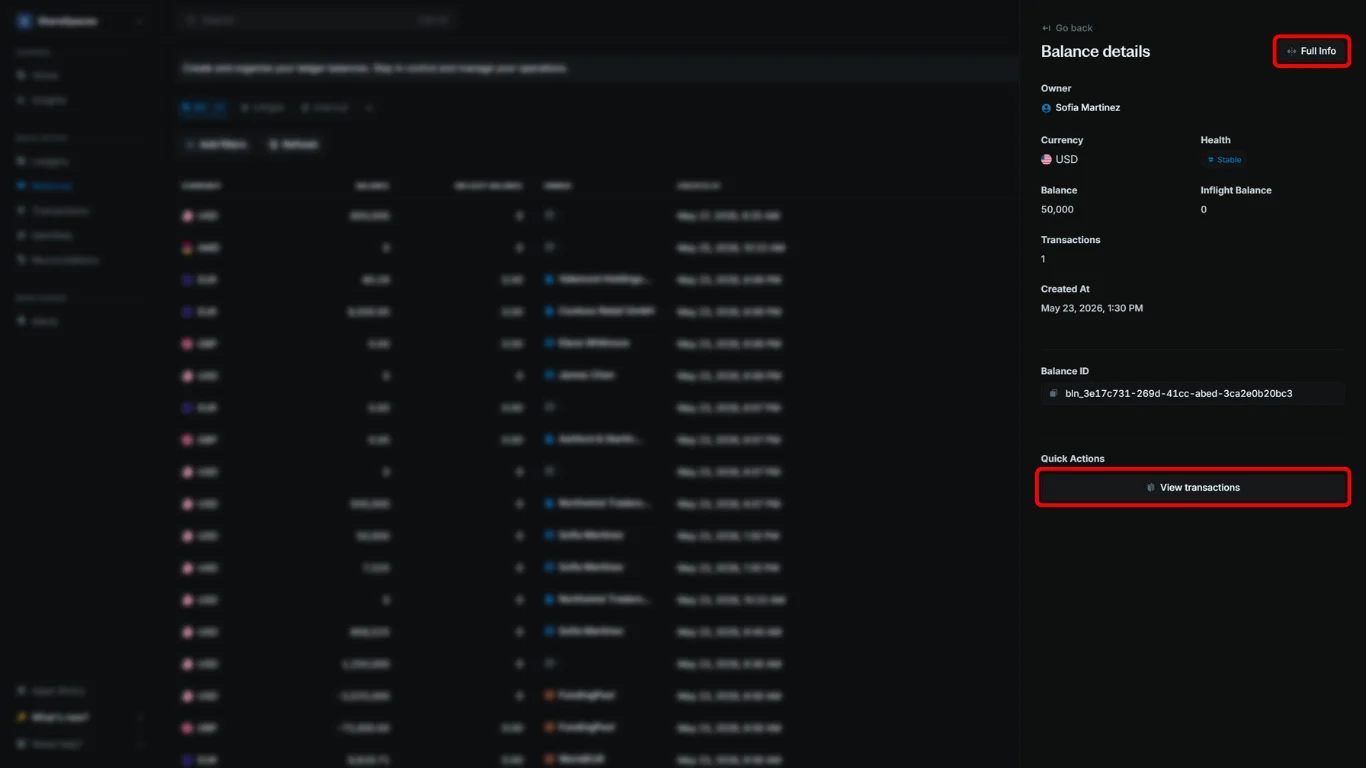
Full info in the top-right corner of the summary or press E to expand the details.
To view all transactions performed on the balance, go to the Quick Actions section at the bottom of the summary and click View transactions.