

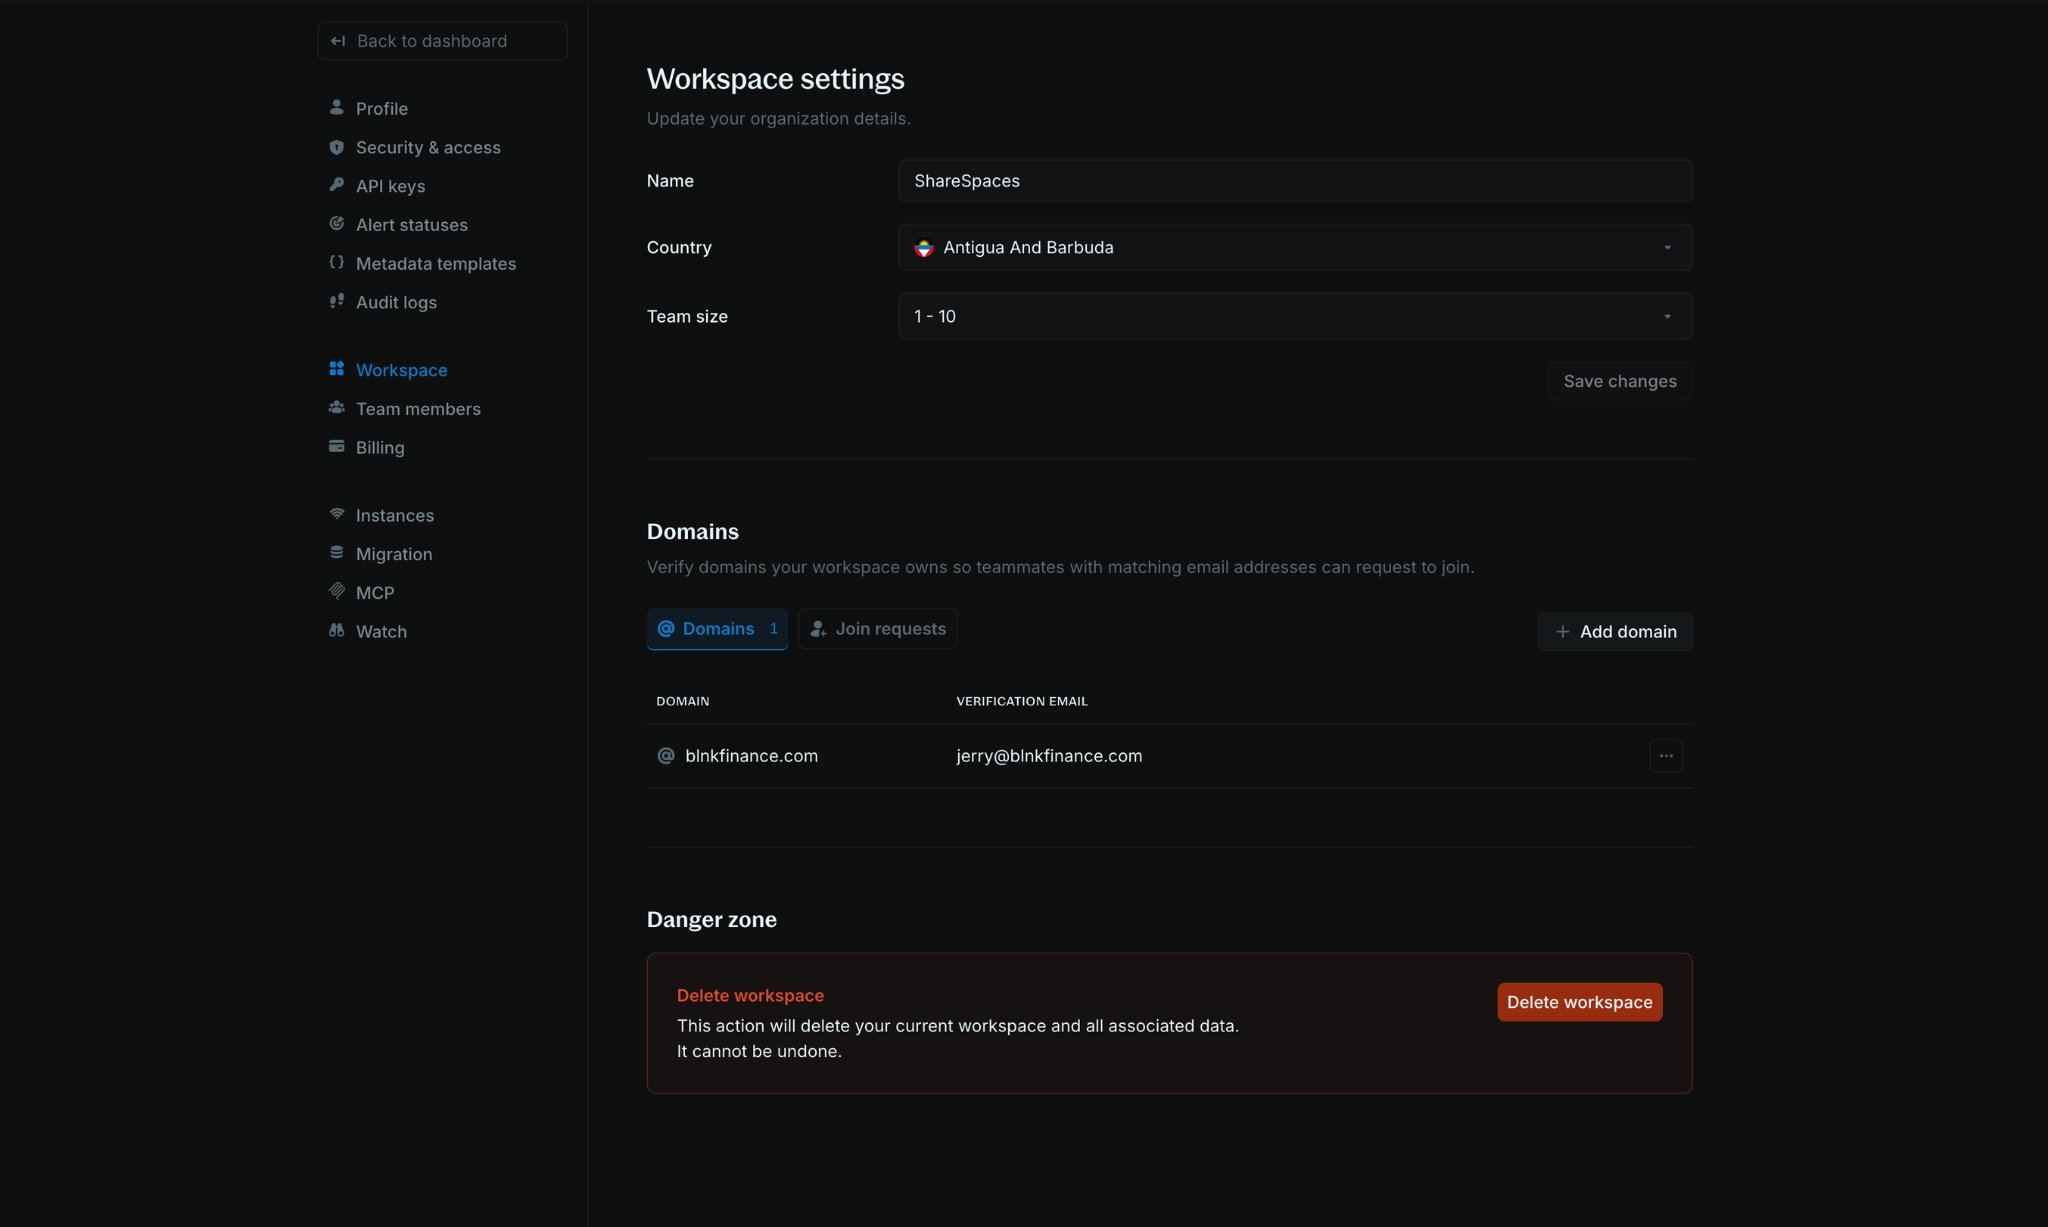
- Organization name
- Team size
- Country
Workspace domains
Verify domains your organization owns so teammates with a matching email address can request to join your workspace, without needing a manual invite.1
Open the Domains section
Go to Settings > Workspace and scroll to the
Domains section.2
Start adding a domain
Click 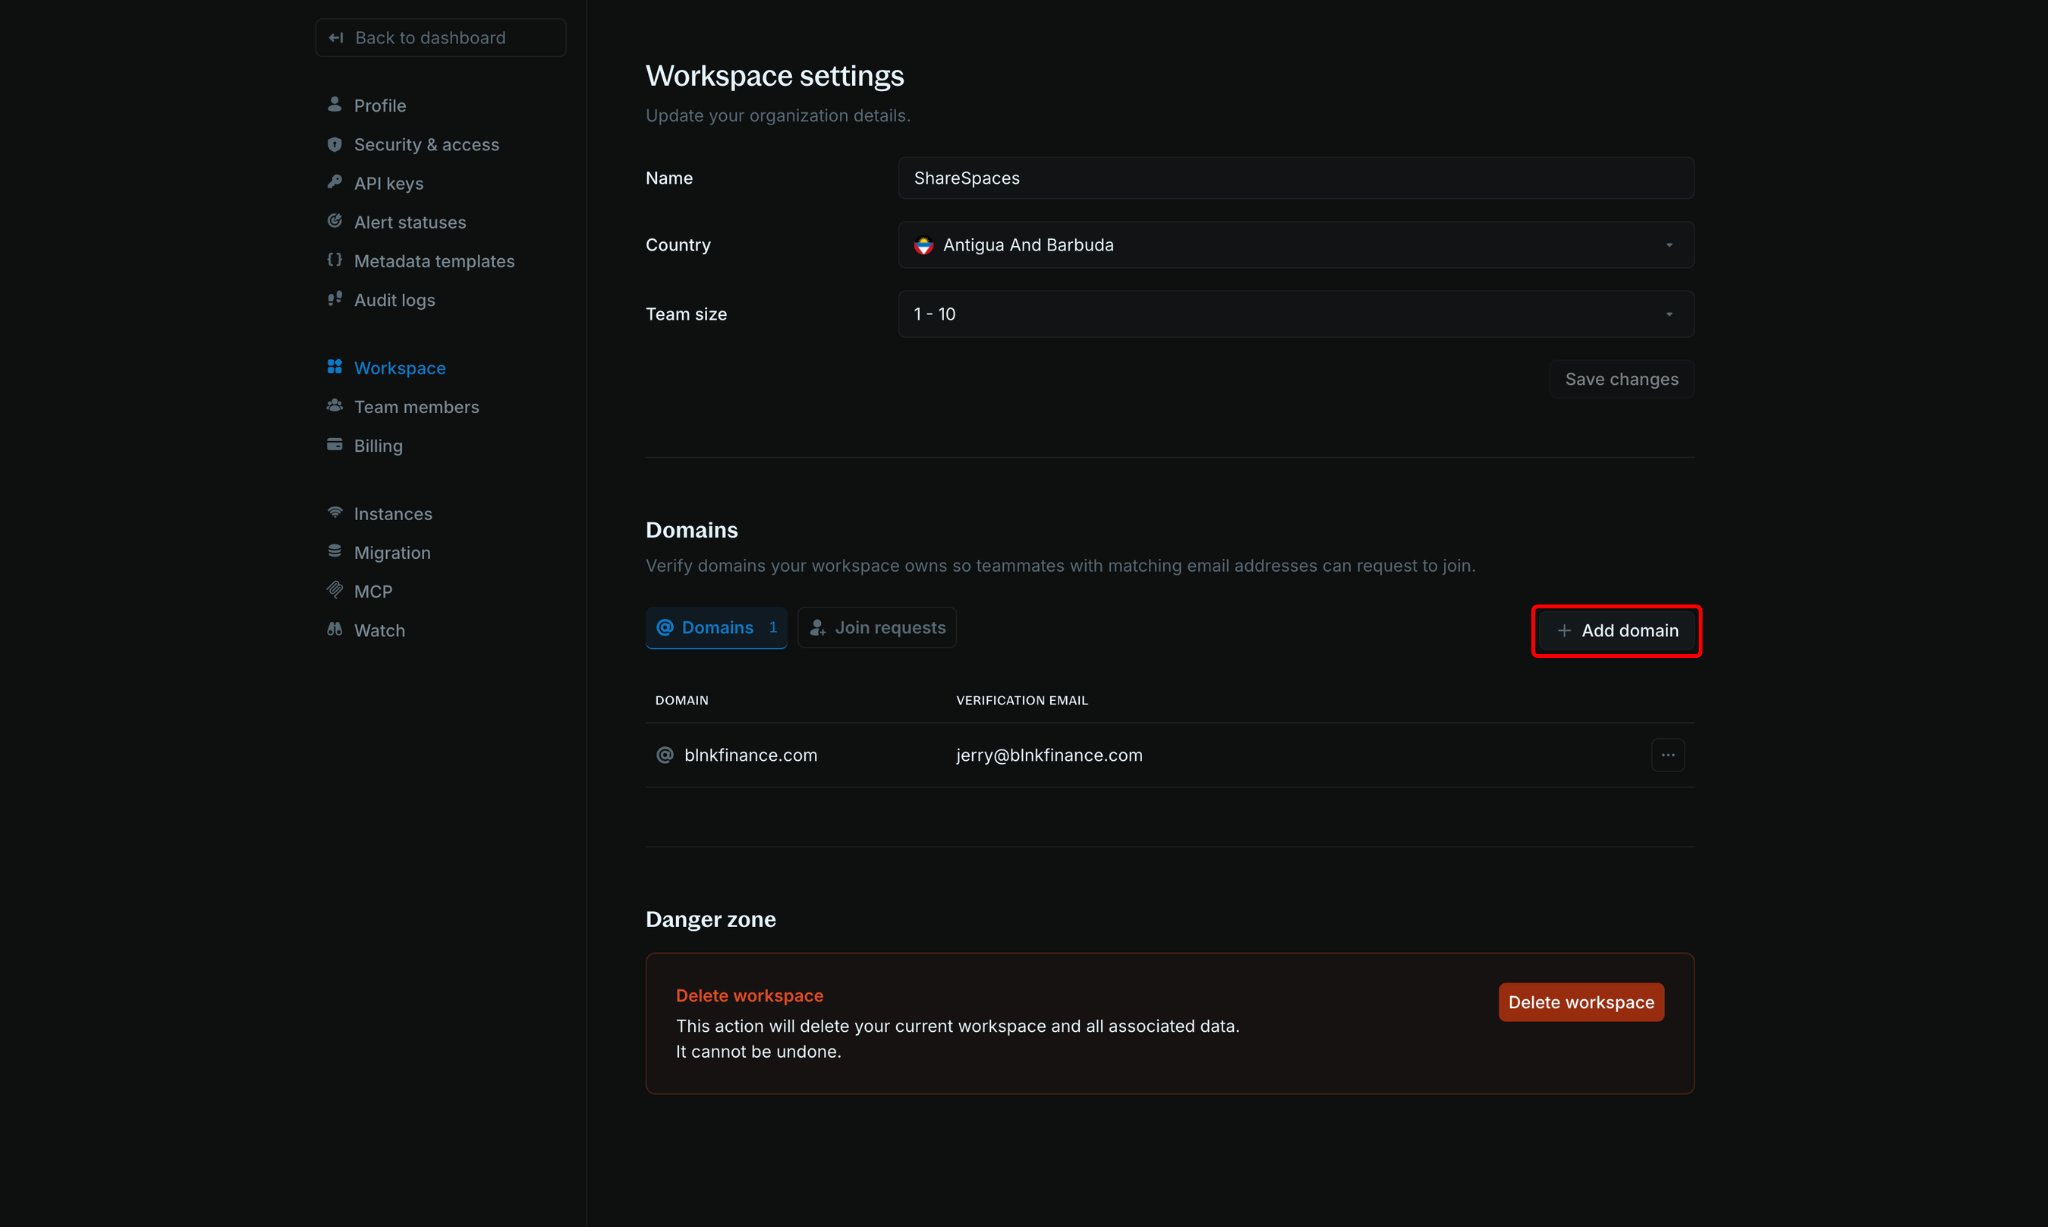
Add domain at the top right of the Domains section.3
Enter domain details
In the 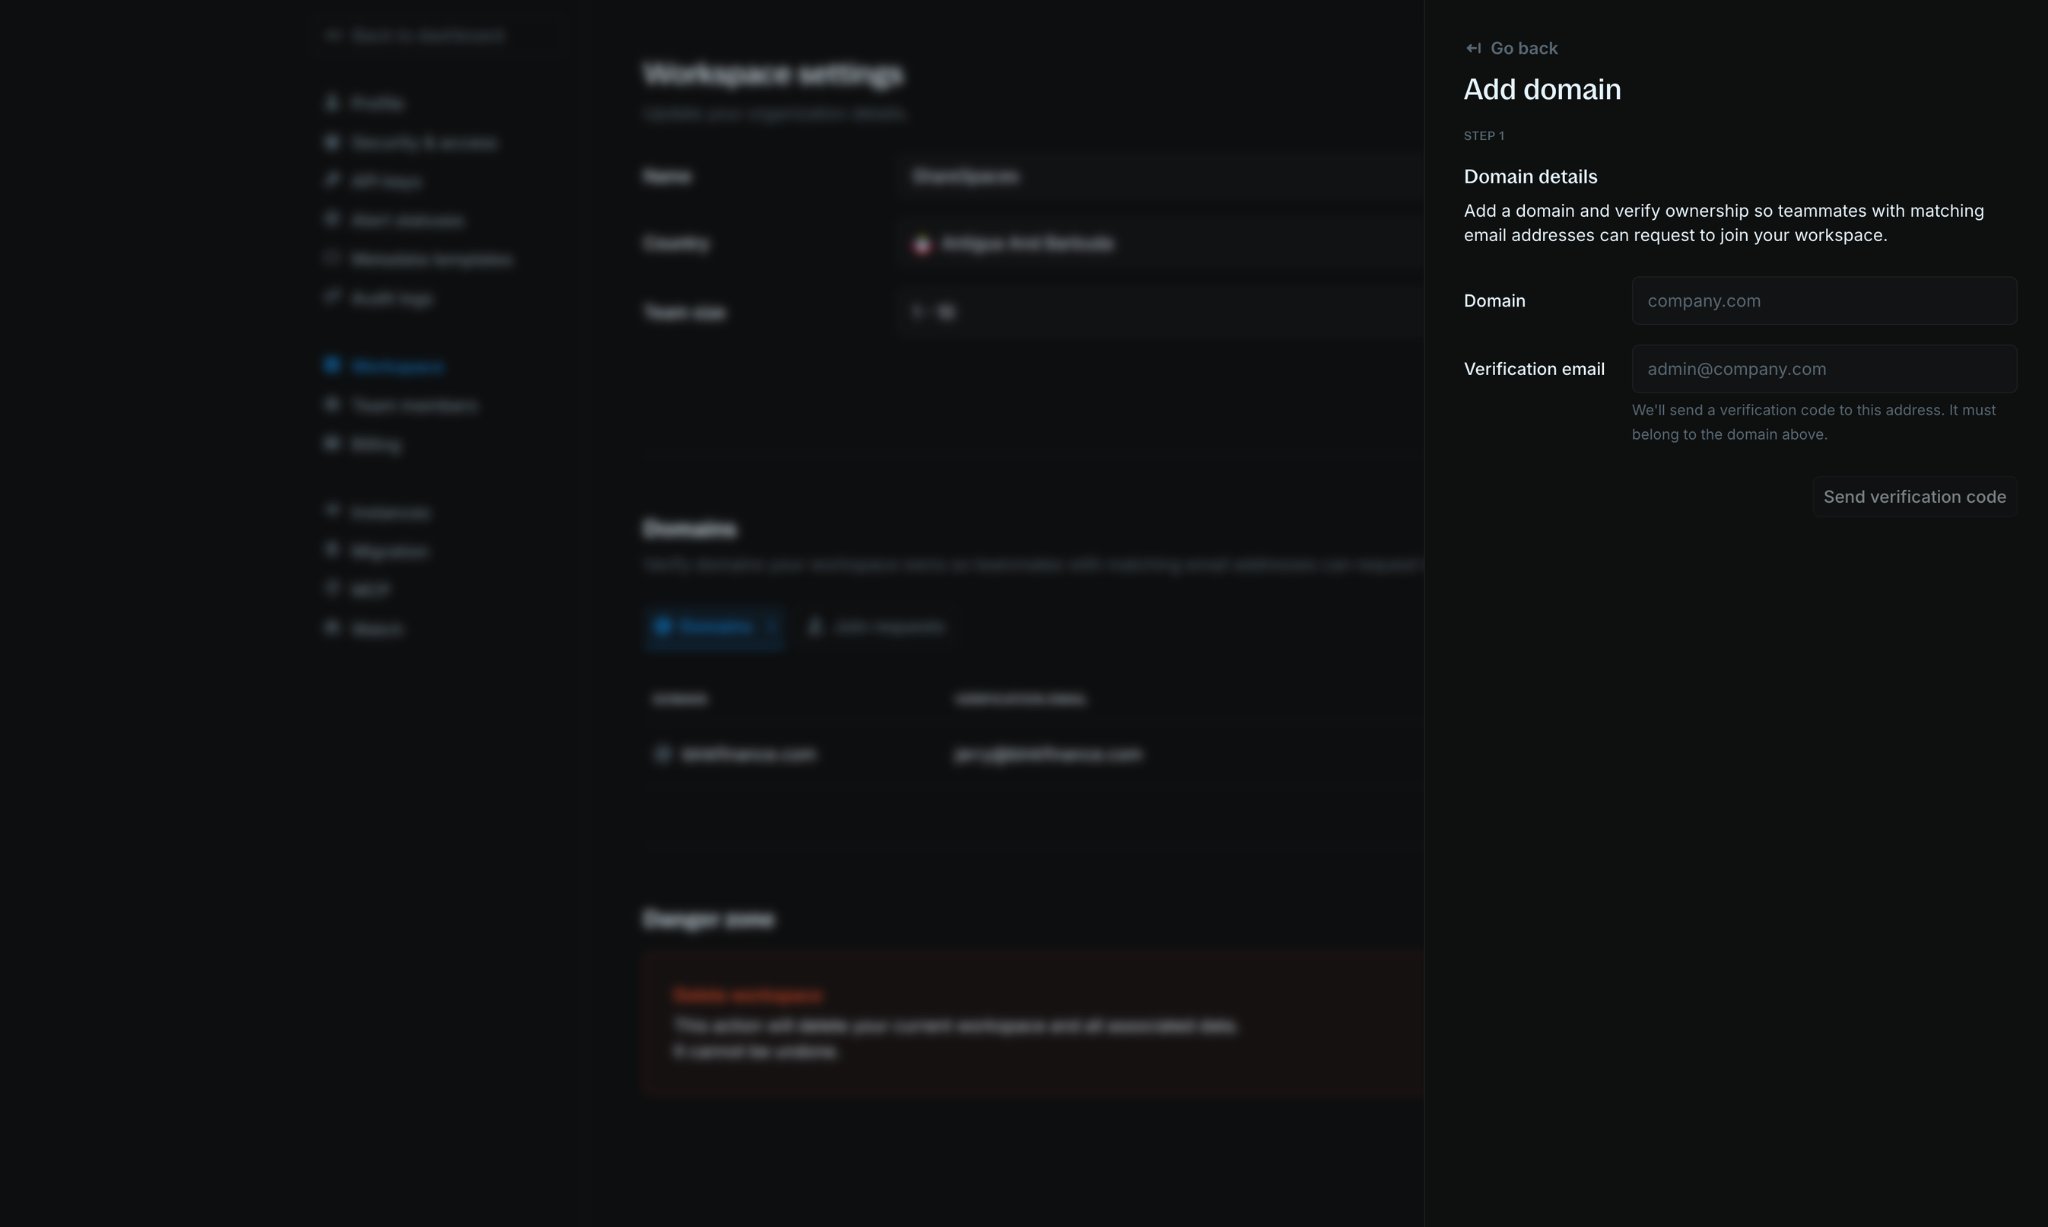
Add domain panel that opens, enter the Domain you own (for example, company.com) and a Verification email on that domain. Click Send verification code.4
Confirm ownership
Enter the verification code sent to your verification email. Once confirmed, the domain appears in the
Domains tab.5
Review join requests
Switch to the 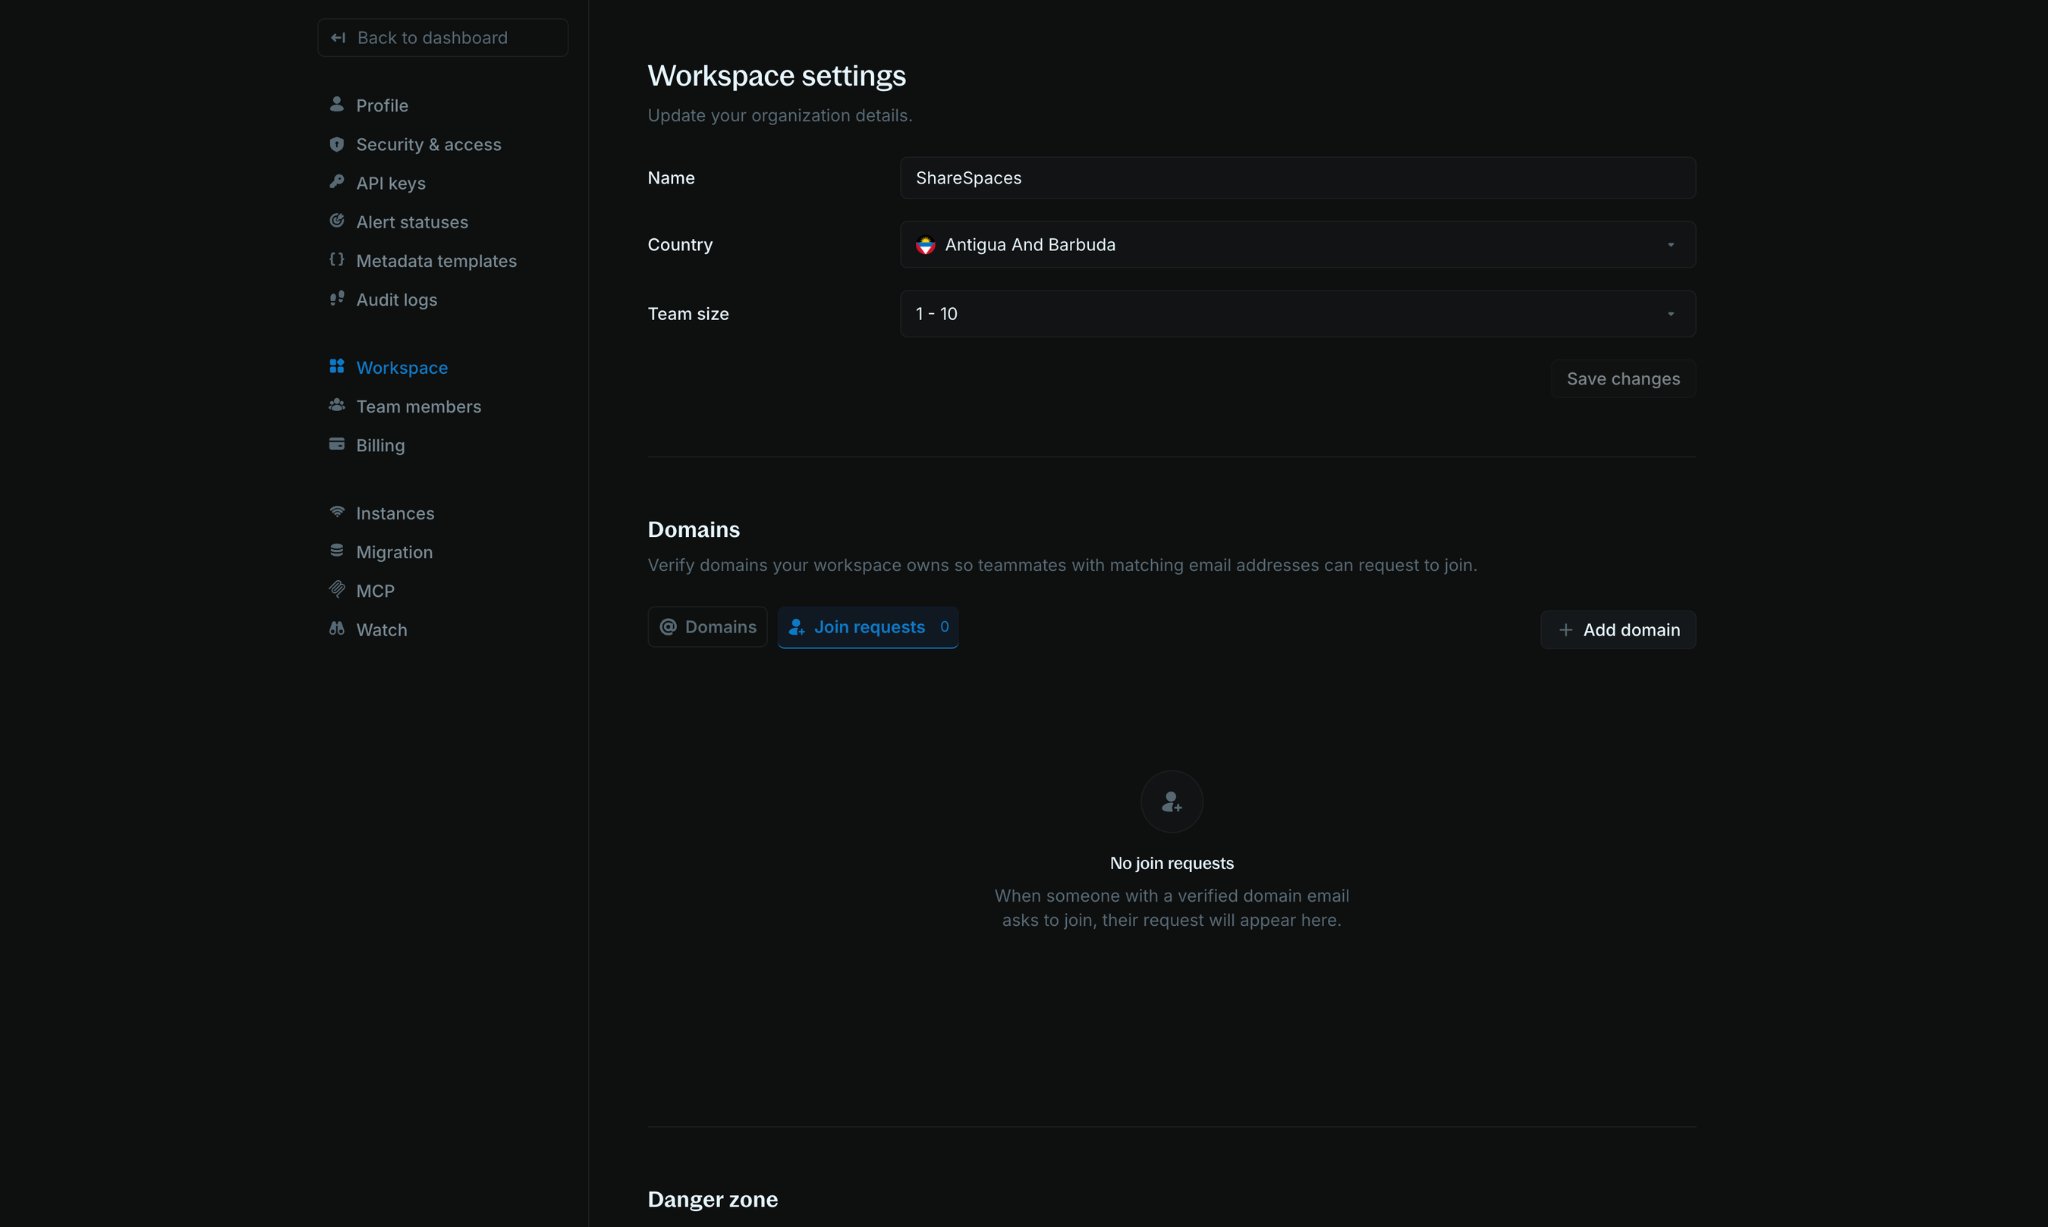
Join requests tab to approve or decline teammates who signed up with an email on a verified domain.Switch workspace
If you belong to more than one organization in Blnk Cloud, you can move between workspaces without signing out.1
Open your workspace menu
At the top of the left sidebar, click your 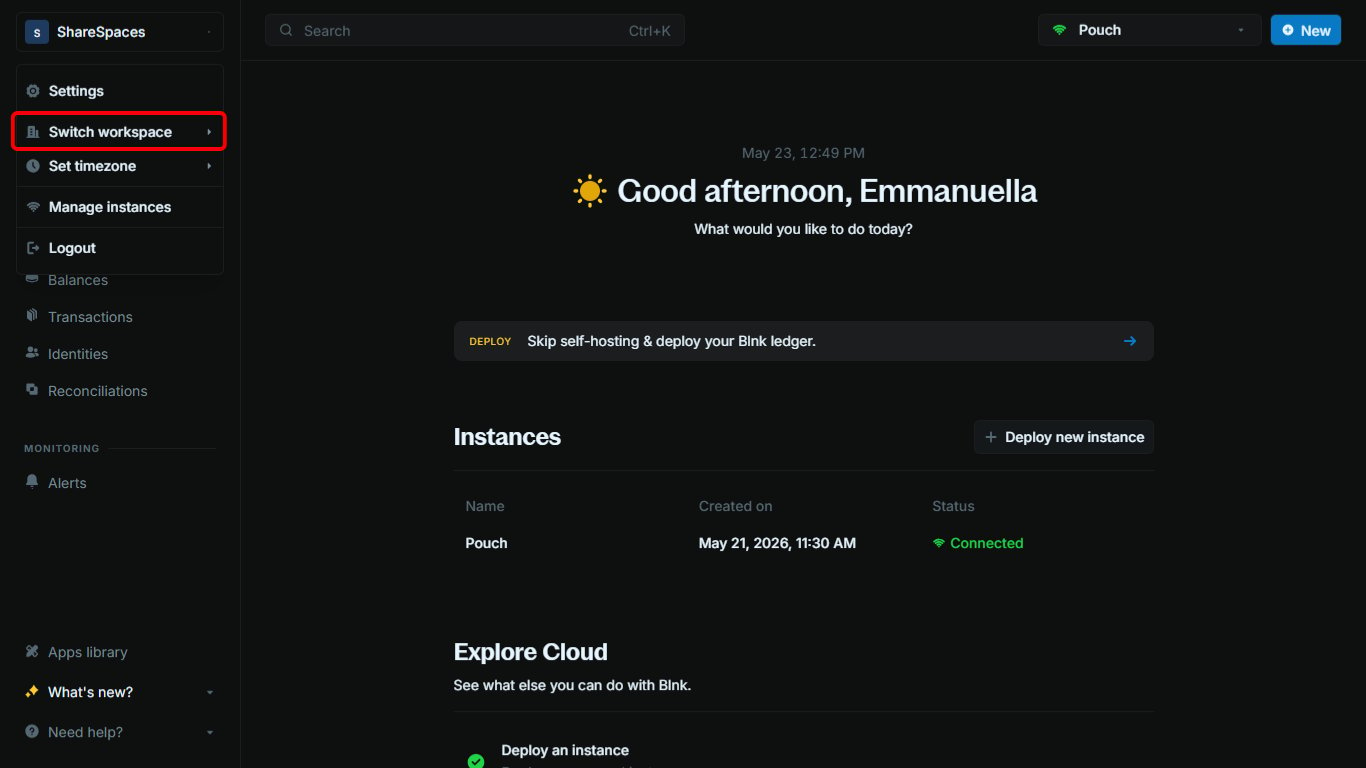
workspace name or logo.Switch workspace.2
Choose a workspace
Pick the workspace you want to open. Your current workspace is highlighted in the list.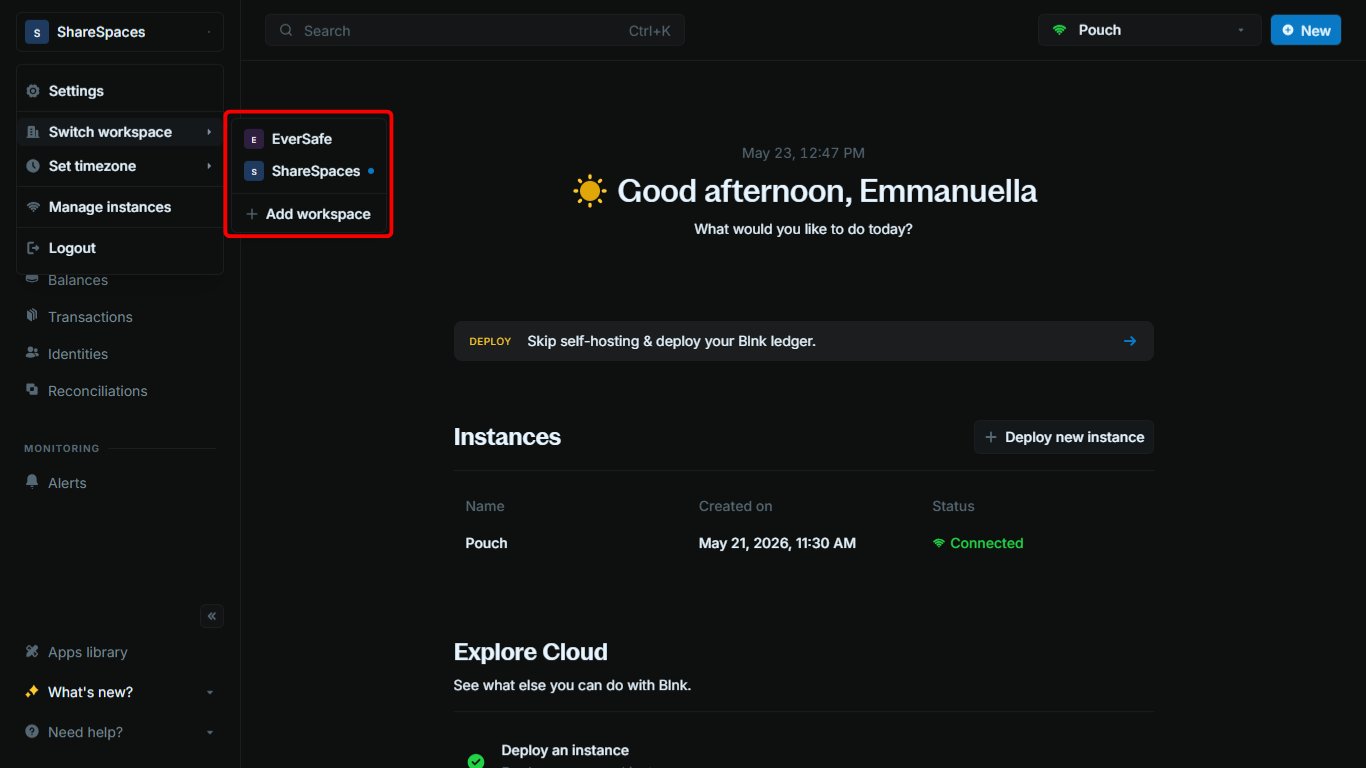
Add workspace
Need a separate workspace for another organization? You can create one from the sameSwitch workspace menu.
1
Open your workspace menu
At the top of the left sidebar, click your
workspace name or logo, then select Switch workspace.2
Create the new workspace
Click 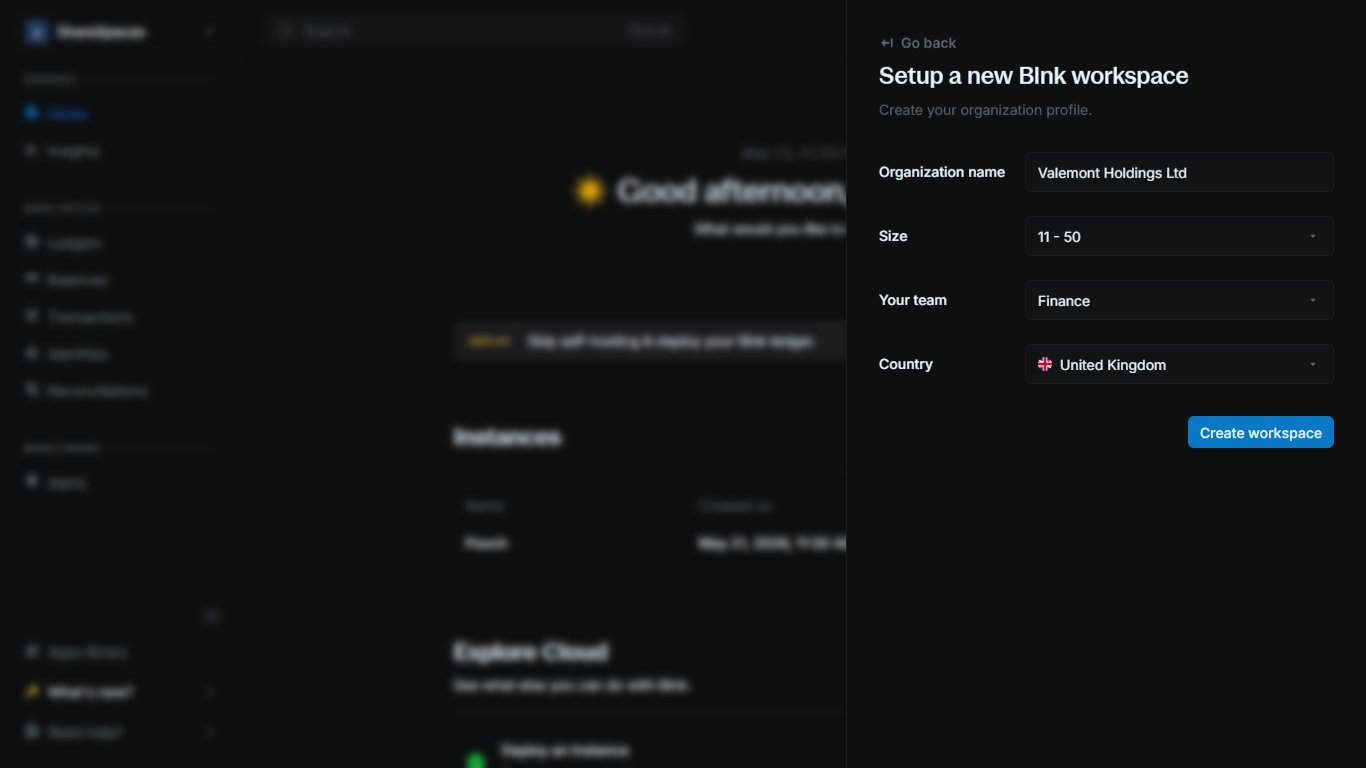
Add workspace, then enter your organization name, team size, and country.Create workspace to finish. Blnk Cloud creates the workspace and opens it for you automatically.