

Data Lake
Schema
Read the four lake tables and how they connect.
Call Get lake schema for the column names and types on an instance.
In Insights, the Schema tab lists the same four tables: transactions, balances, ledgers, and identity.
They connect on shared IDs. A transaction can be read with the balance it touched, then the ledger and the identity that own that balance.
How they connect
Balances sit in the middle. Each balance belongs to one ledger and can belong to one identity.
Each transaction points at two balances. source is where money leaves, and destination is where money arrives.
Read the schema
Pass instance_id for the instance whose lake you are reading.
curl -X GET 'https://api.cloud.blnkfinance.com/data/lake/schema?instance_id=YOUR_INSTANCE_ID' \
  -H 'X-blnk-key: CLOUD_API_KEY'
The response lists public columns only. See Get lake schema.
Open Insights and select the Schema tab. It lists the tables and columns for the active instance.
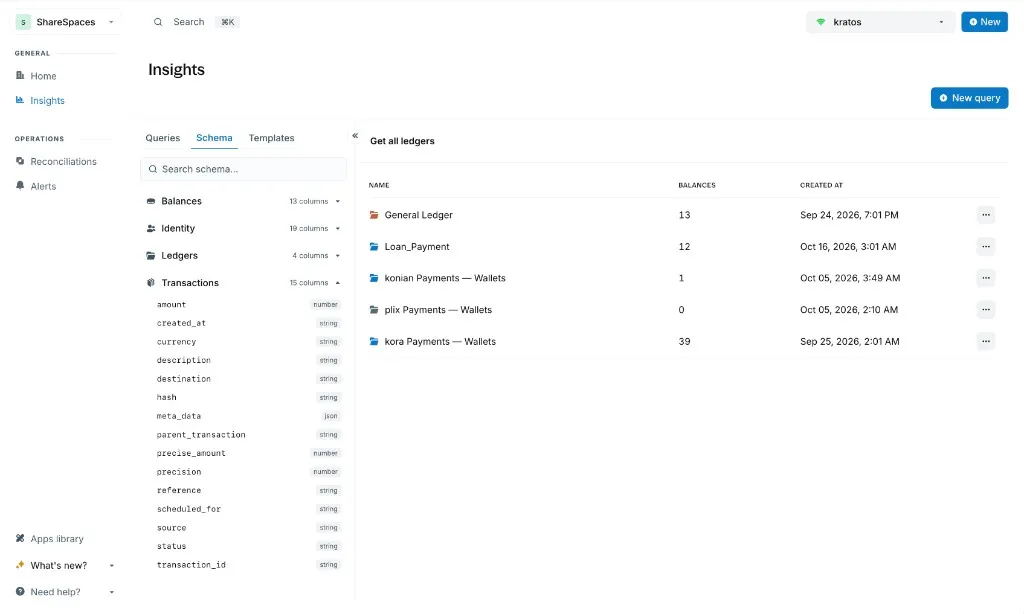
Tables and columns
| Column | What it is |
|---|---|
transaction_id | Primary key. Unique ID for this transaction row |
reference | Your external or idempotency ID |
status | Lifecycle state. Each state is its own row. See Transaction lifecycle. |
source | Balance ID money left |
destination | Balance ID money entered |
precise_amount | Amount in the smallest unit (cents, satoshi) |
precision | How many smallest units make one whole unit |
amount | Human-readable amount Blnk derives |
currency | Currency code |
description | Optional note on the transaction |
parent_transaction | ID of a related parent transaction |
scheduled_for | When a scheduled transaction should run |
created_at | When this row was created |
meta_data | Custom JSON you attached |
| Column | What it is |
|---|---|
balance_id | Primary key. Unique balance ID |
ledger_id | Ledger this balance belongs to |
identity_id | Identity this balance belongs to |
currency | Balance currency |
indicator | Balance indicator or alias, when set |
created_at | When the balance was created |
meta_data | Custom JSON you attached |
| Column | What it is |
|---|---|
ledger_id | Primary key. Unique ledger ID |
name | Ledger display name |
created_at | When the ledger was created |
meta_data | Custom JSON you attached |
| Column | What it is |
|---|---|
identity_id | Primary key. Unique person or org ID |
identity_type | Person or organization |
first_name / last_name / other_names | Person name fields |
organization_name | Org display name |
email_address / phone_number | Contact fields |
category | Your category label |
street / city / state / country / post_code | Address fields |
gender / dob / nationality | Profile fields, when you store them |
created_at | When the identity was created |
meta_data | Custom JSON you attached |