

/blank/.
If you are new to Blnk or open-source fintech developer tools, this is where you should start.
1: Installation Guide
- Self-hosted
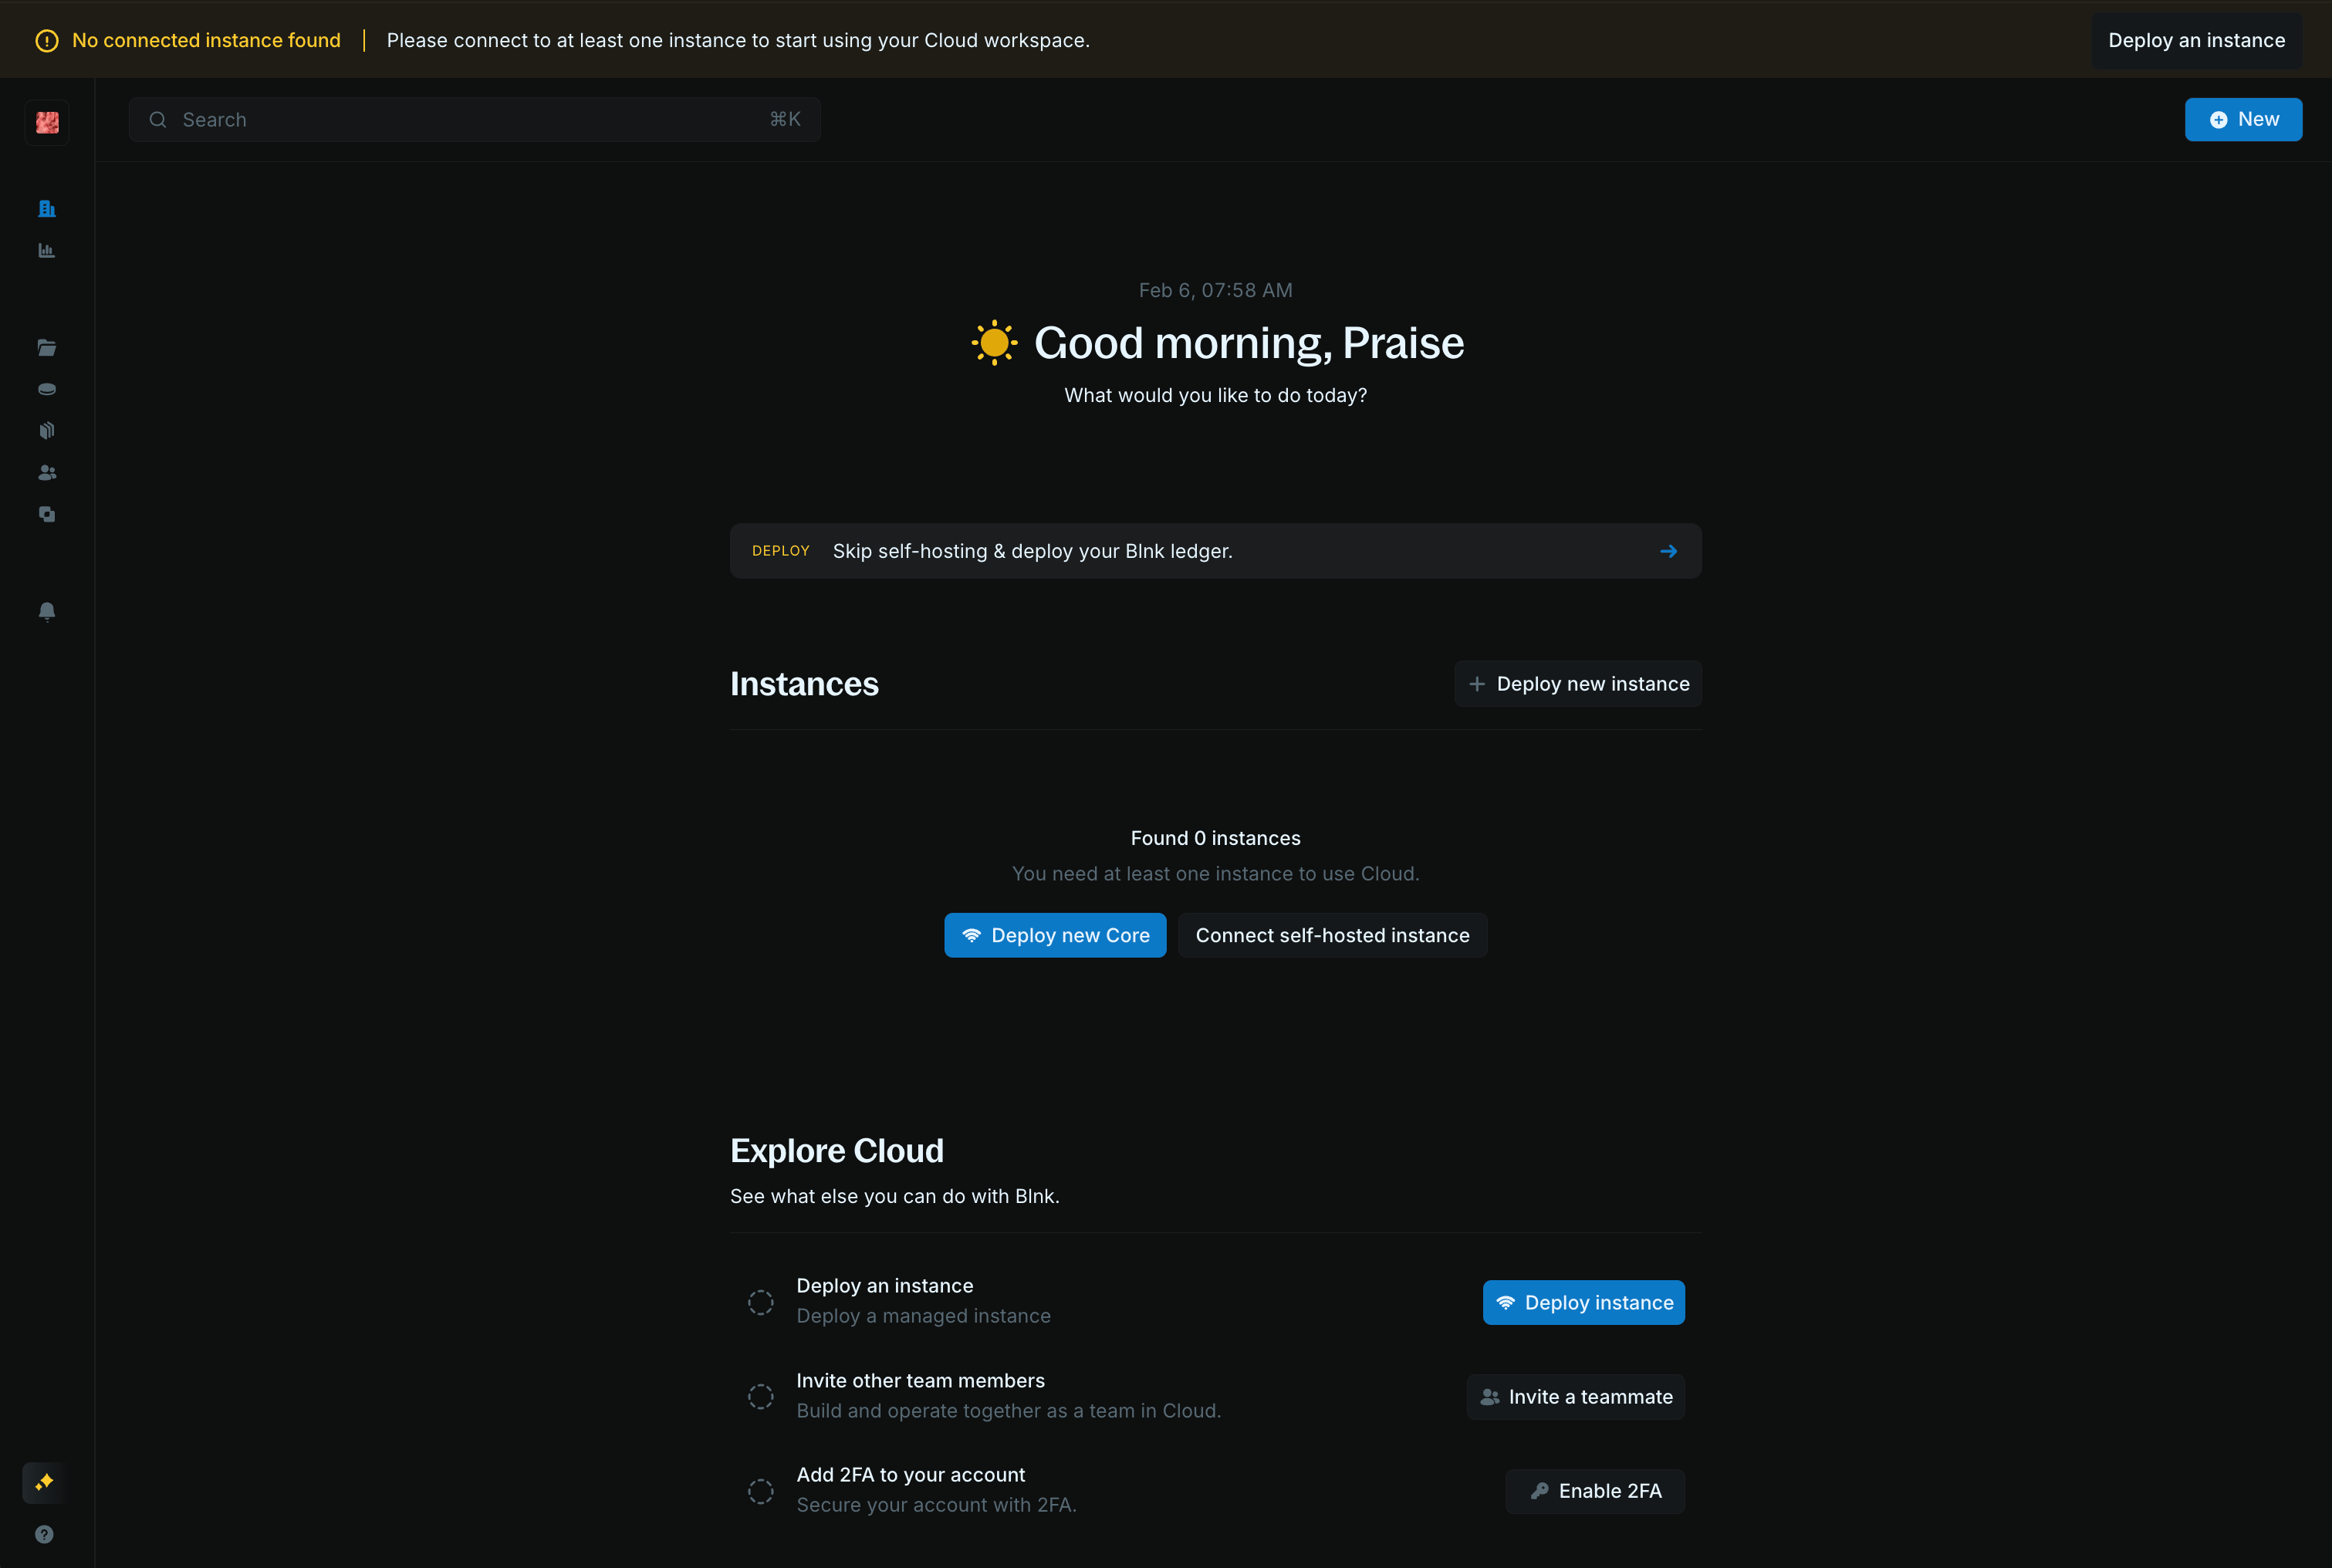
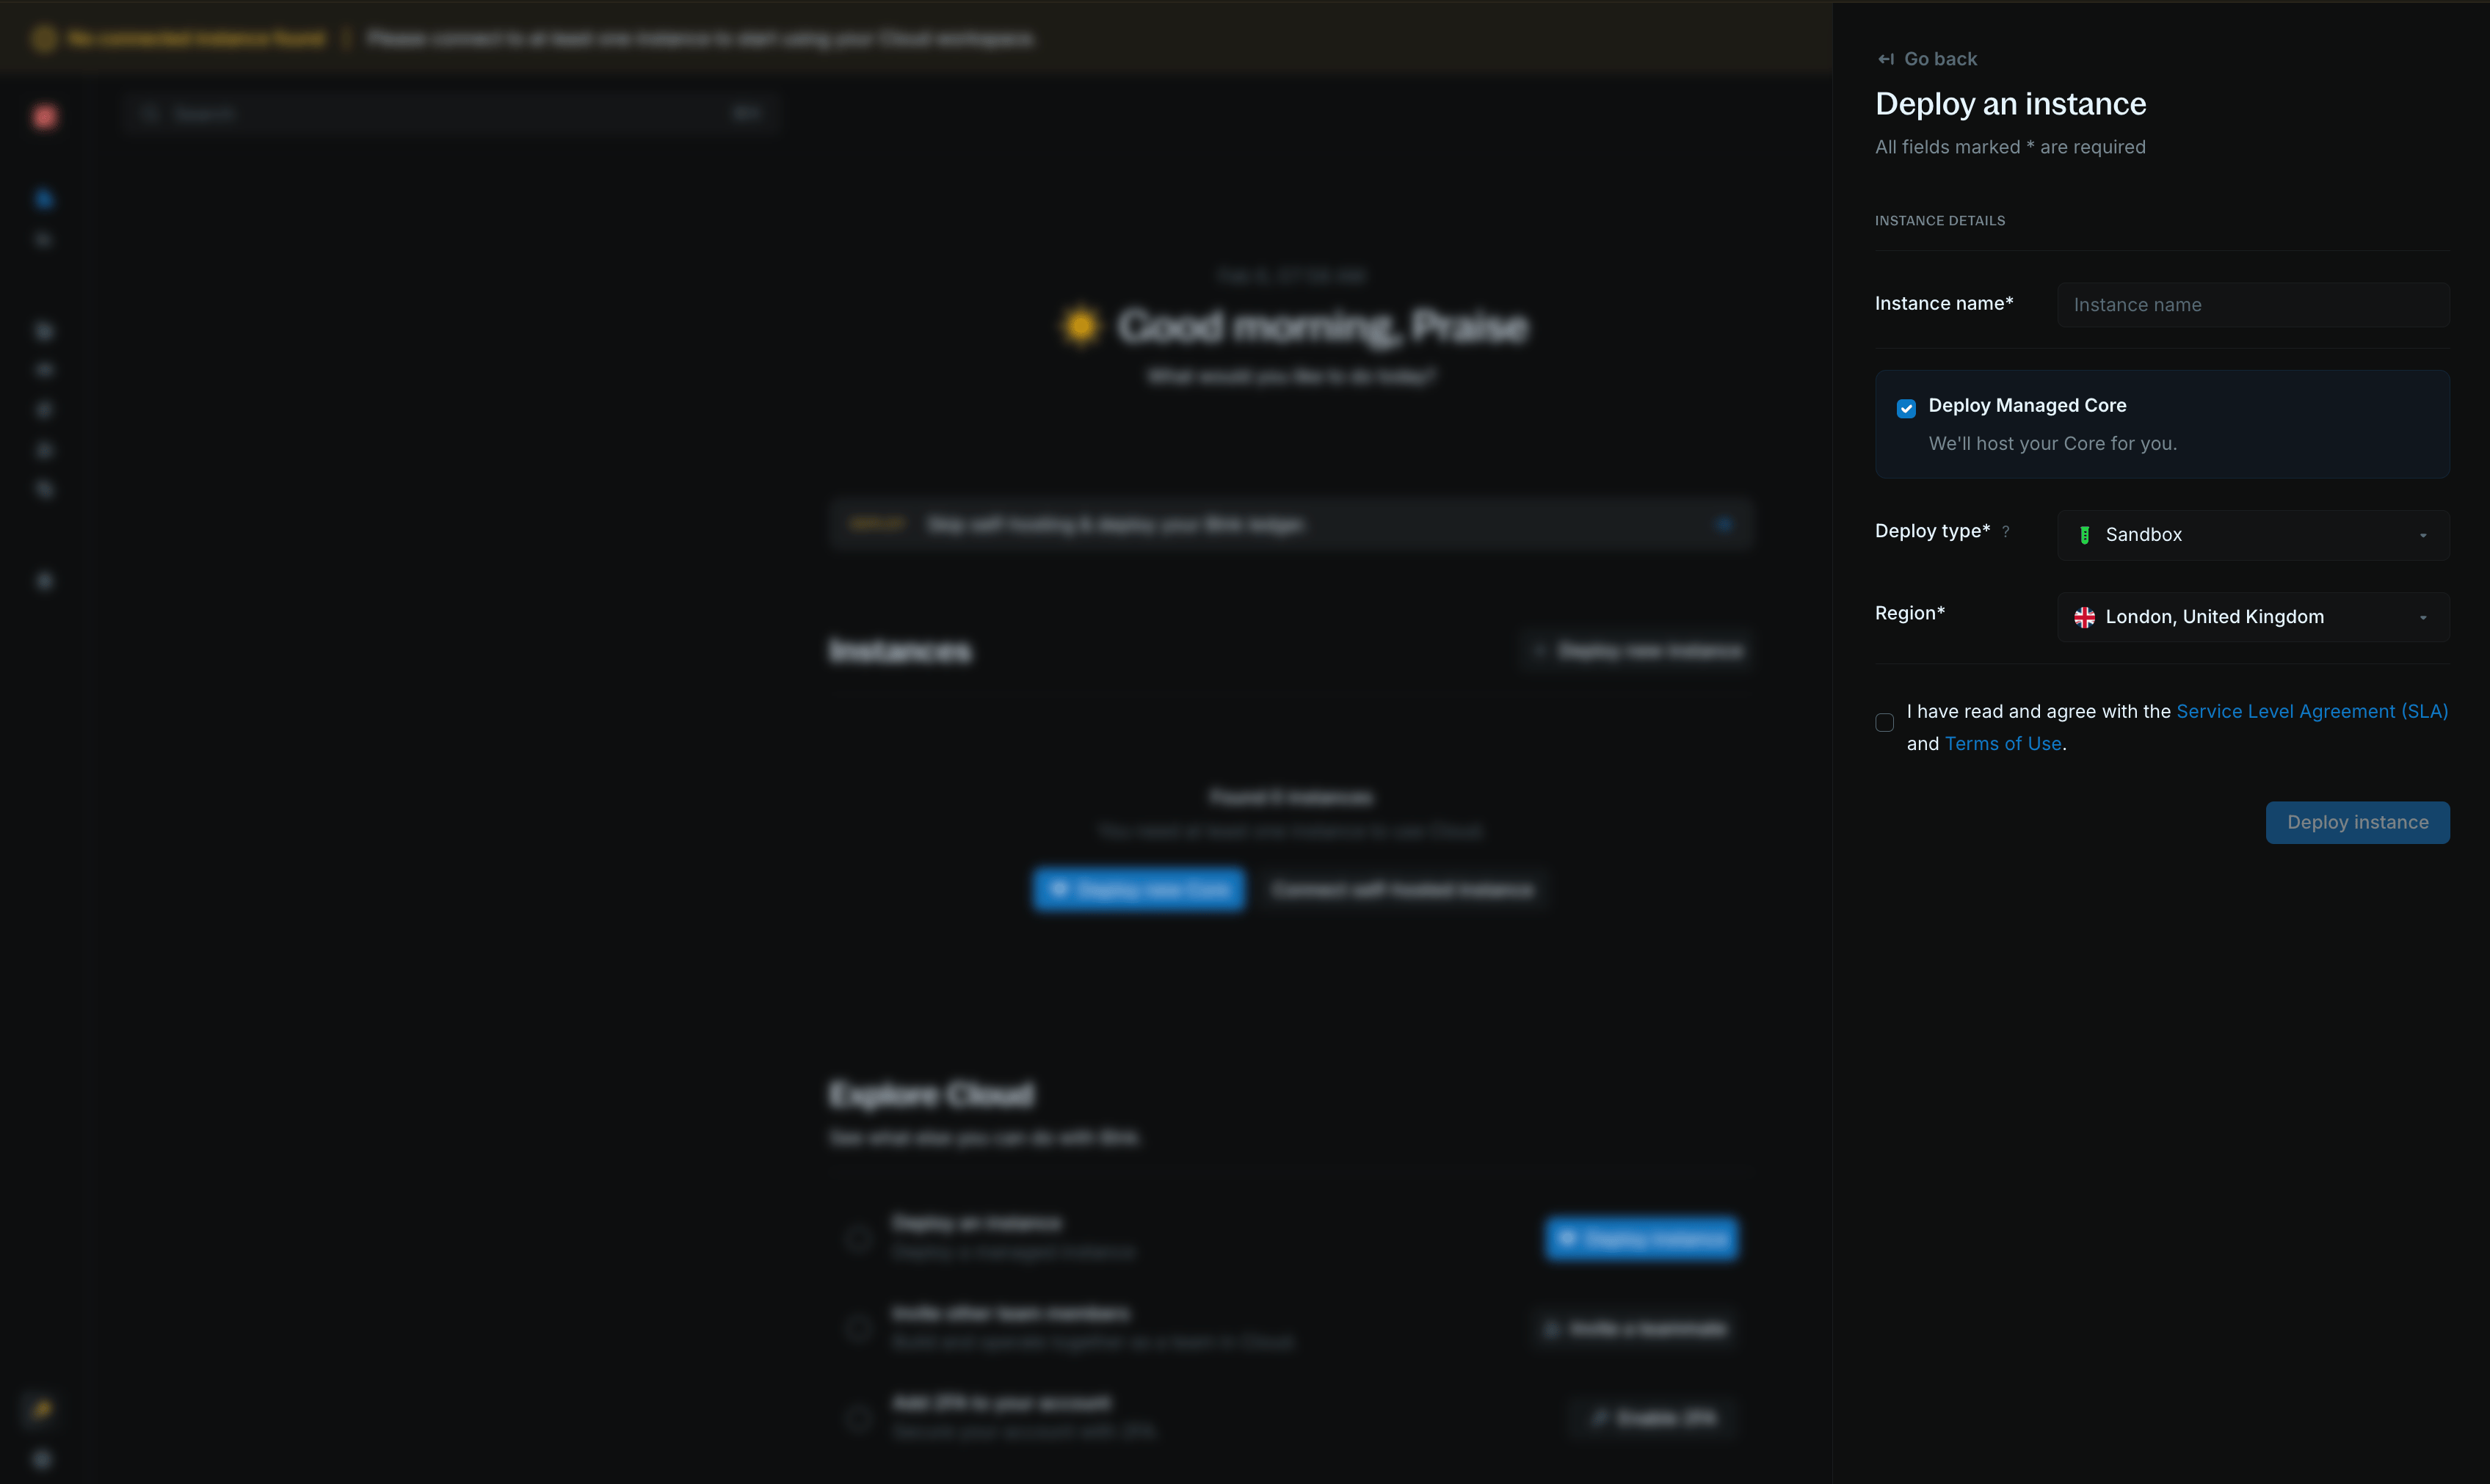
- Managed hosting
Manually install Blnk on your own infrastructure. This option requires Docker and Compose.
To customize your Blnk configuration, see Configuration overview.
2: Create your first transaction
Now that Blnk is running, let’s create your first transaction. Blnk uses the double entry principle to record transactions, which means every transaction must have a source and destination.Response
Congratulations! You’ve successfully created your first transaction in Blnk.
Response
Balance fields are integers in minor units. Blnk Core does not return
precision on balance responses. Use the same precision you pass on transactions for each currency (for example, 100 for USD) to convert integers to display amounts: display_amount = balance / precision.@FundingPool balance (which will be negative since it funded the transaction) and the @MyBalance balance (which will show the amount we transferred).
3: View your ledger (optional)
See your new balances and transaction in your Blnk Cloud dashboard.You’ve successfully completed the Blnk getting started guide! You now have a working Blnk instance with your first transaction recorded.
Key concepts
Now that you’re set up, start with these key concepts to build your application:Ledgers
Organize ledgers for your application.
Balances
Wallets, accounts, and stores of value.
Transactions
Record and move money between balances.
Identities
Link people and entities to balances.
Using an SDK? See the TypeScript, Go, Python, or Java quick starts.